Originally this was going to be a single post about how I mined for a month, what, if any, profits I made and finally any conclusions I had. As I got to writing everything up and went through the whole process I found that one post was not going to cover everything. Therefore, I have split it up into 3, this first post will be about getting setup, the second post is about what to do with the coins you mine and the third post will cover all the conclusions that I came to.
So without further ado, let’s get on with the initial setup.
So you want to mine?
The first thing you will need to mine is some hardware to mine on. I have some graphics cards already: RTX 3060 Ti, RTX 2060, GTX 1650 Super.
The 3060Ti I managed to get by being in the right place at the right time on Hotukdeals before Christmas when some stock happened to arrive and I picked it up for only £50 over MSRP, which was a good deal I think looking at today’s prices!
The 2060 and 1650 Super are in the kids gaming machines and I want to try them out just to see what they can do as not many people have access to the latest 3000 series cards so I thought it would be helpful to try mining on them too.
One of the reasons GPU’s are so hard to come by at the moment is because they are being used to mine on, I am hoping to show at the end of this experiment if it is worth paying the current scalper prices of cards, or even just normal MSRP and make any money by mining on them.
How do you mine?
There are a lot of options for mining out there and lots of pieces of software that will do the mining for you. I didn’t want to get bogged down in trying to work out which was better, and I wasn’t trying to extract the most performance from the card, I could live with ‘good enough’, so I chose NiceHash, I had seen some videos on YouTube and it looked pretty easy so that’s who got my vote.
The way NiceHash works is, your GPU mines for Ethereum coins (you can choose other coins to mine but Ethereum seems to be the most efficient) and depending on your hash rate (how many calculations you do in a given time period) NiceHash compensate you with Bitcoin for the work done (it’s a bit more complicated as NiceHash sell your Hashing power to other users). Obviously the faster the card you have, the higher your hash rate so the more BTC you will be paid.
I don’t know the exact rates for each card, but from what I can gather an RTX 3060Ti will give a hash rate of around 55-60MH/s (Mega hashes per second), RTX 3070 is basically the same speed as the 3060 Ti. An RTX 3080 can reach in the 90’sMH/s and an RTX 3090 is upwards of 120MH/s.
You can generate more money with a faster card, but that card is more expensive and will consume more power.
As for how much a given hash rate is worth is totally dependent on the value of BTC and also the demand there is for the coins you are mining.
Setting up NiceHash
To get going with NiceHash, firstly you will need to create an account with them, once the account is created then, if you haven’t already, turn on 2FA. If you don’t do this you can’t make any withdrawls from their system, and if you turn it on at a later date you will have to wait 24hrs before you can withdraw your coins.
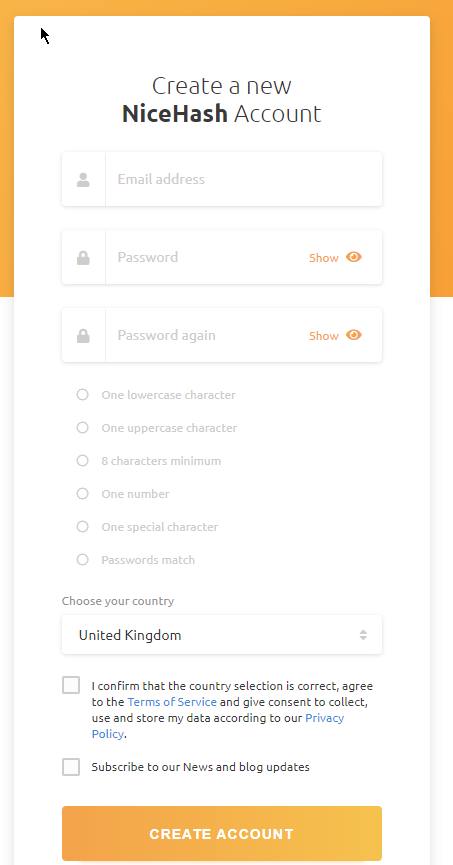
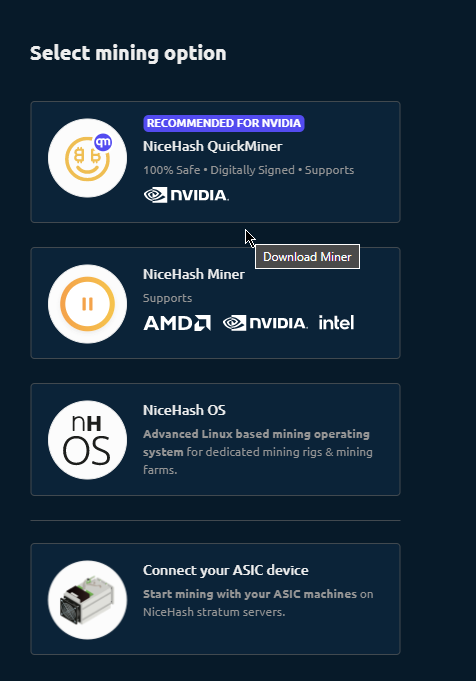
With your shiny new account setup you can login and should be prompted to download some mining software, if not it can be found on the mining page of your dashboard. You are given several options, the easiest is to use QuickMiner it works with the latest cards as long as they have 4GB of memory. For one of my cards (GTX 1650 Super) I had to use the NiceHash Miner as it supports cards with less memory.
Read the blurb about the miner and decide how you want to get your system to allow the files to be run as they will show up in AntiVirus and be blocked. I run Malwarebytes which blocked the installer from running and also the installed files.
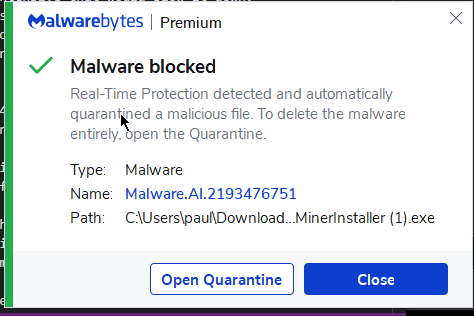
I had to add the installer and add the folder that is created during the install to my list of exceptions to allow it to run. You may find it easier during install to turn AntiVirus off and then add the exceptions for the installed files afterwards or during install your AntiVirus is constantly warning you about files being downloaded and installed.
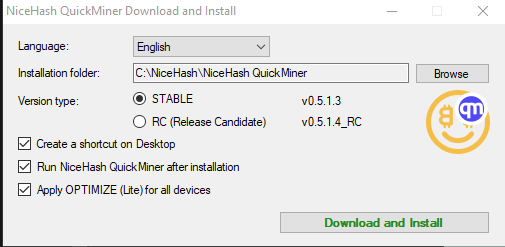
Assuming everything went according to plan you should end up with a success message.
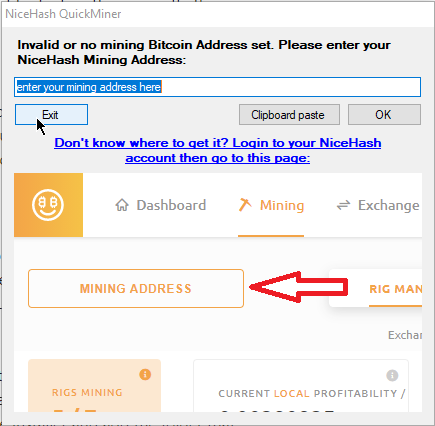
After install QuickMiner should run automatically and it will ask you for your mining address and helpfully show you where to find it on your account.
With your mining address entered QuickMiner should start mining straight away while you configure the rest of the options like if you want it to autostart with Windows etc. The final page of the settings is actually quite interesting and talks about the OCTune settings. This is NiceHash’s automated overclocking system to optimise your GPU’s for mining.
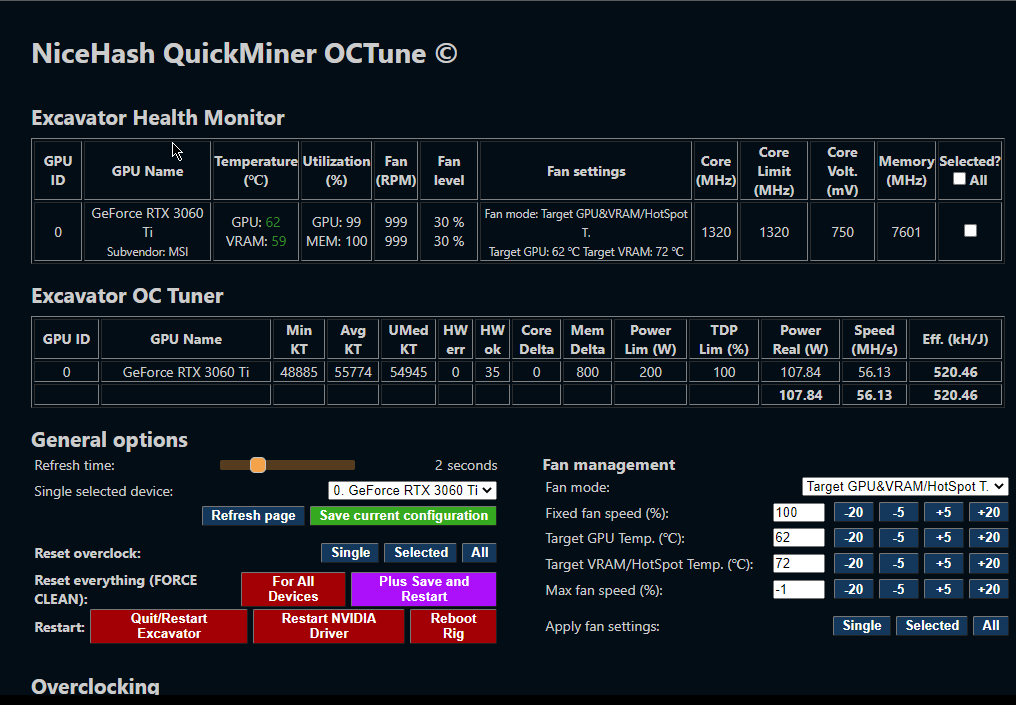
If you select OCTune from this page it will open a page in your browser that allows you to tweak all sorts of settings for your card. However, the easiest thing is to allow the software to do it itself.
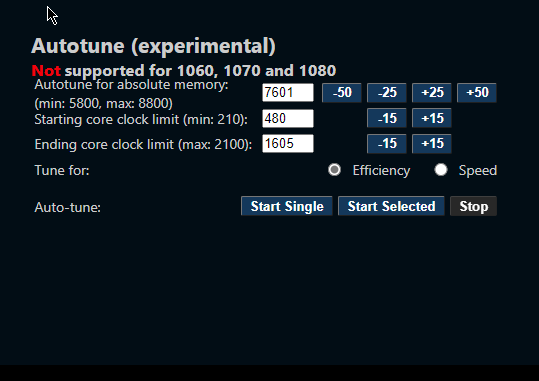
If you have a 2000 or 3000 series Nvidia card then you can use AutoTune at the bottom of the page, I suggest reading over the QuickMiner wiki page which has a section on the AutoTune software and gives a guide as to what to set your card to. For my 3060Ti I gave it a memory speed of 8300 and let it run to see where the most efficient speed was.
I am sure you could sit and tweak away to get an extra couple of % out of your card, but for the amount of time and the benefit I would get it didn’t seem to be worth it.
With this all done your card should be mining away and be running at the most efficient level possible.
If you don’t want to use AutoTune then on the RigManager page of NiceHash you can select some basic optimisation defaults:
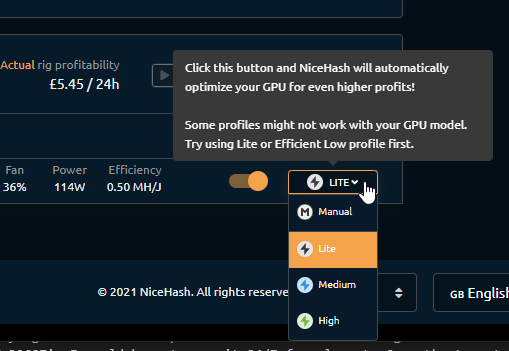
This will get you pretty close, but also using these settings will allow you to set the card to mine a bit slower if you want the fans to be quieter or you want to use the PC for something other than hardcore mining.
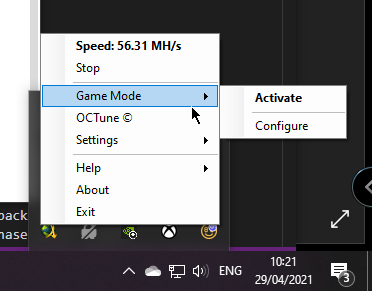
Finally if you do want to use the PC for, I don’t know, maybe gaming, then QuickMiner can be put into Game Mode from the tray icon which disables mining while you game. OCTune can also be accessed from here.
Once the system is mining you can see everything that is going on from the dashboard within NiceHash, from how much you are making, what your balance is, what outstanding balance there is to be paid to you (NiceHash pay you out every 4 hours in BTC).

Another rig can be added to your account by downloading the software and going through the same procedure again. All your rigs will show on your dashboard and you can start and stop them from there without needing to go to each PC to do it.
Everything is in one place on the dashboard with the most important info displayed about your rigs.

What next?
With your rig setup and mining, what do you do next?
Good question, and I will get into that in the next part of this series.