As well as being an IT Geek I am also a bit of a weather geek too. It started when we were living in the Caribbean and lived through a decade of Hurricane Seasons. I spent many, many hours of my life studying forecasts, models and predictions.
When you have lived through packing up the entirety of the downstairs of your house and moving it upstairs in case you get flooded as a Hurricane is heading your way then you start to take very close attention to what is happening with the weather.
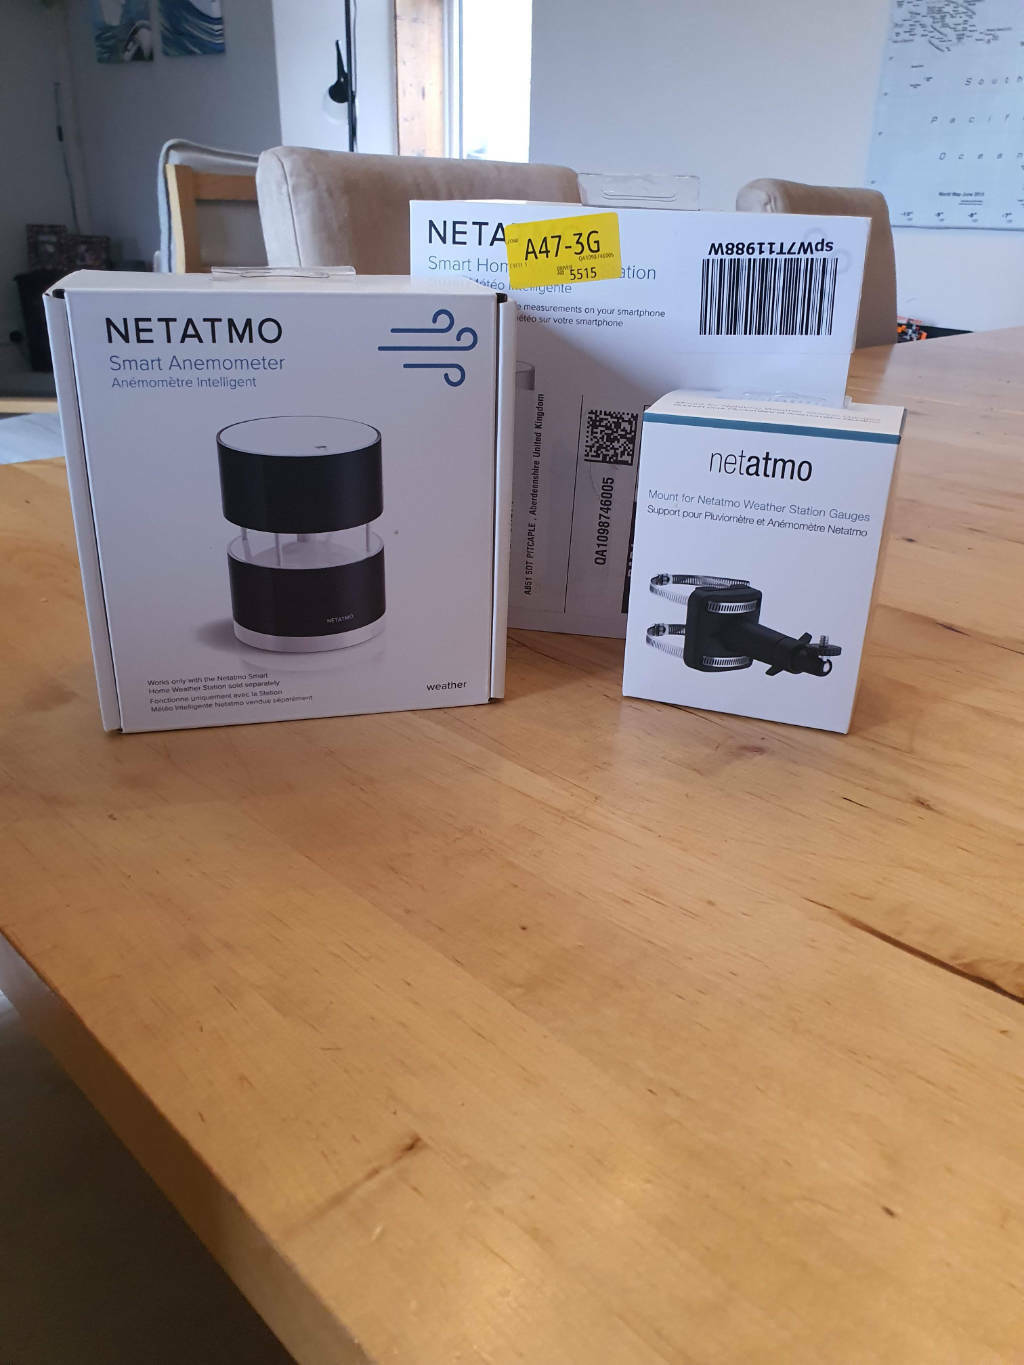
As it was my birthday recently, and also because I managed to sell some old tech (some might say rubbish) on eBay I had the opportunity for the IT and Weather geeks to spend some quality time together by getting a weather station. Specifically the Netatmo Weather Station and added the anemometer (wind guage).
Living in the, almost, middle of nowhere in the North-East of Scotland we do get some extremes of weather here with cold and wind being the main things I would like to get a better idea on. Another issue is that the nearest weather station you can look up online appears to be at Aberdeen Airport that is nearly 20 miles away and also much nearer the coast so the weather will be very different there.
There is also a Smart Rain Guagethat can be added to the system, but I am not so interested about that. If it is raining, it’s raining, I don’t really need to know how wet I will get!
Unboxing
As well as the base Weather Station and the Smart Anemometer I also purchased a mounting base for the Smart Anemometer:
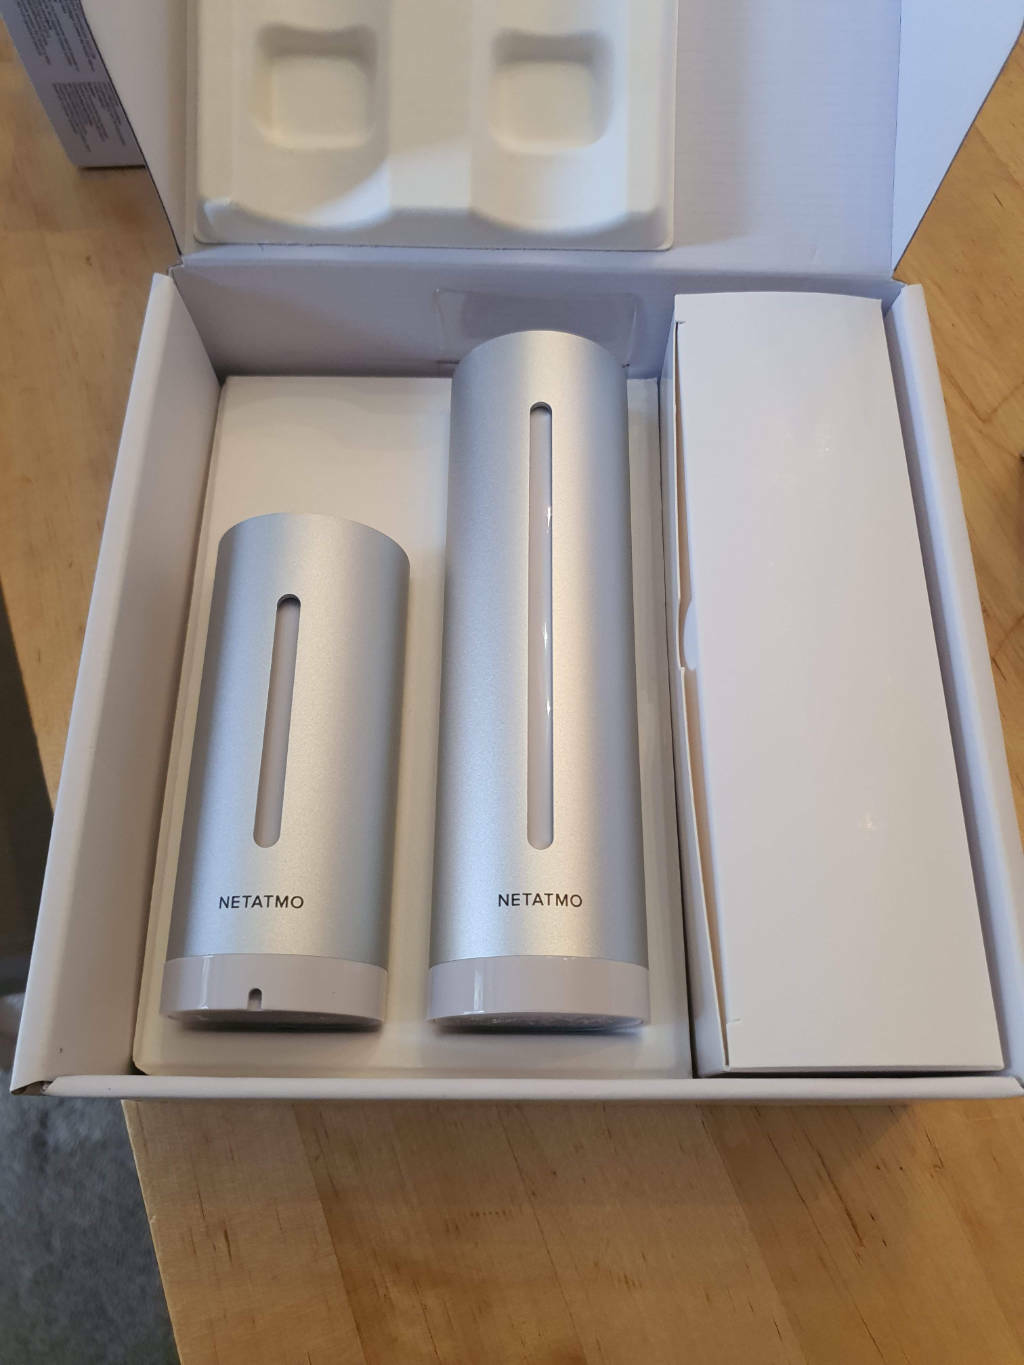
 The core system is made up of separate indoor and outdoor units:
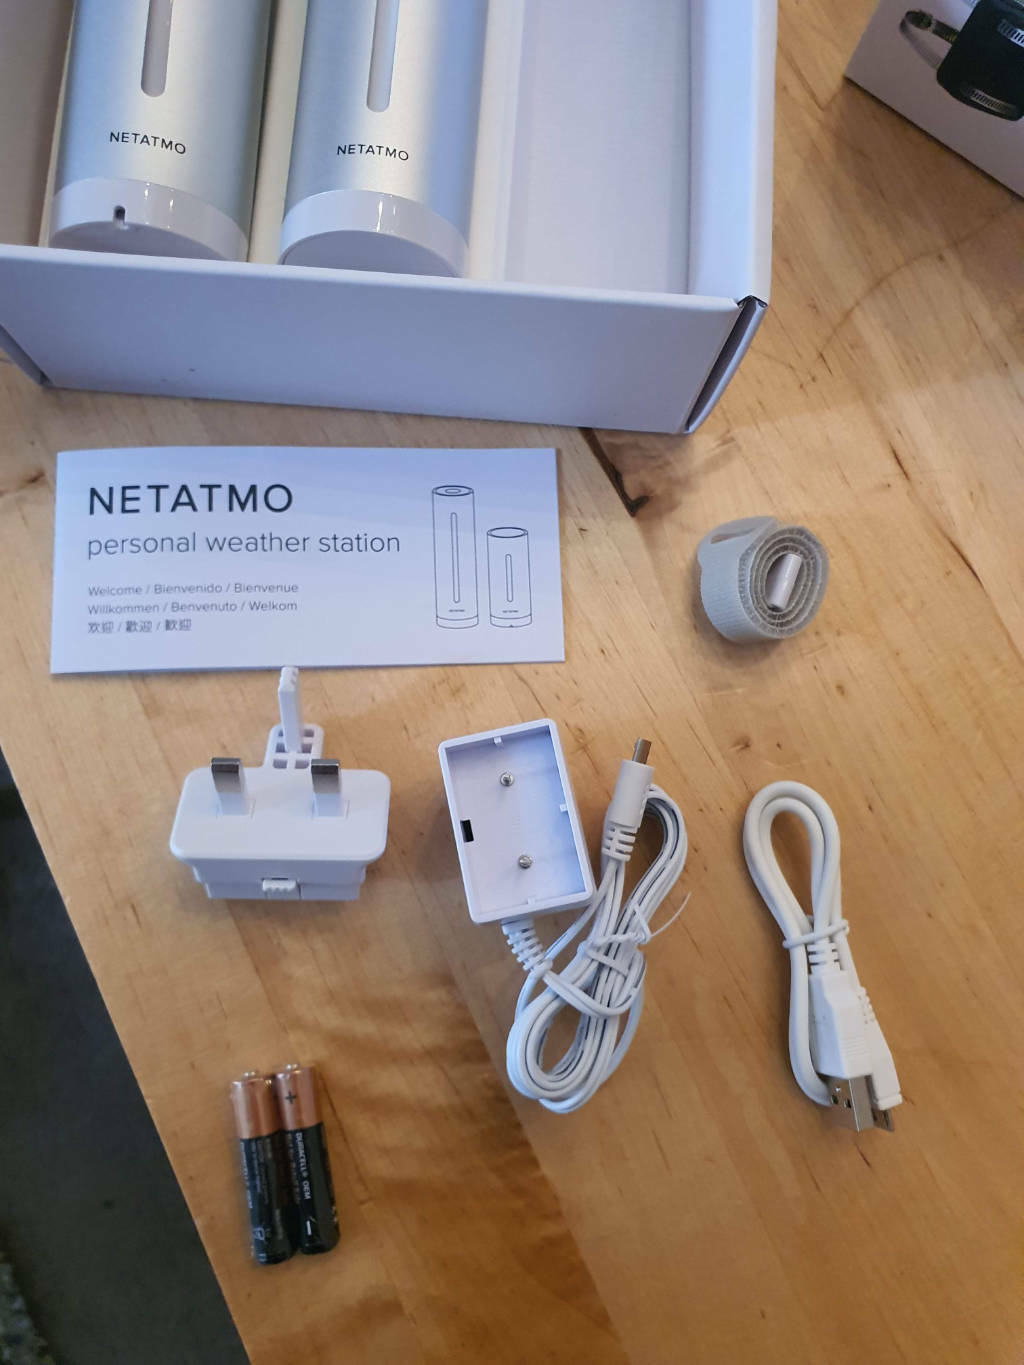
 You get some simple mounting hardware for the outdoor unit and the usual PSU, instructions etc. in the box:
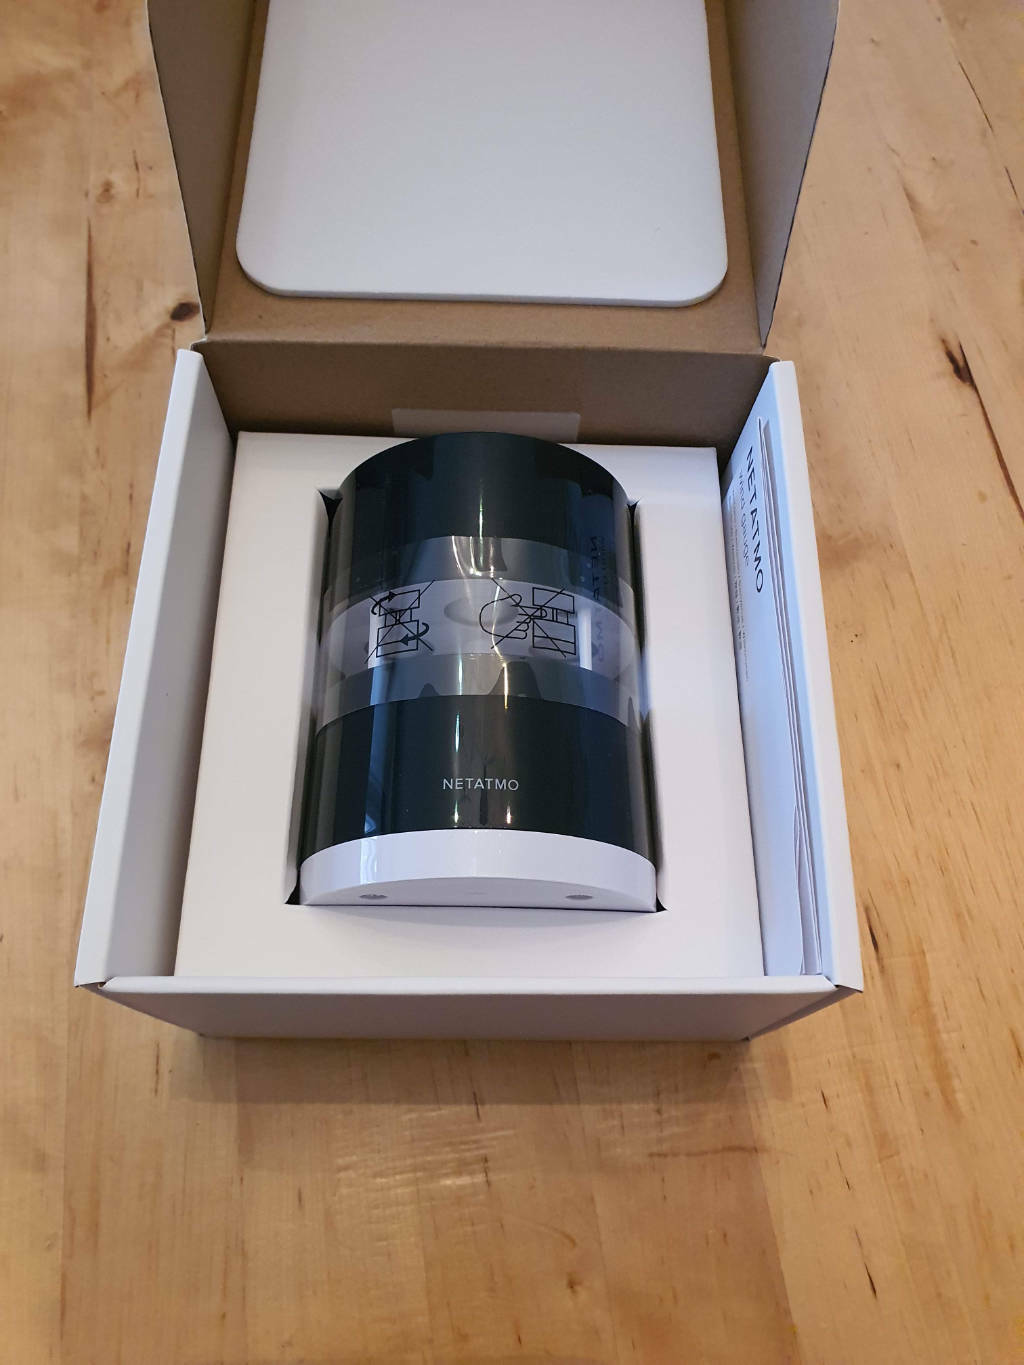
 The Smart Anemometer just comes on its own in the box (more on that later though):
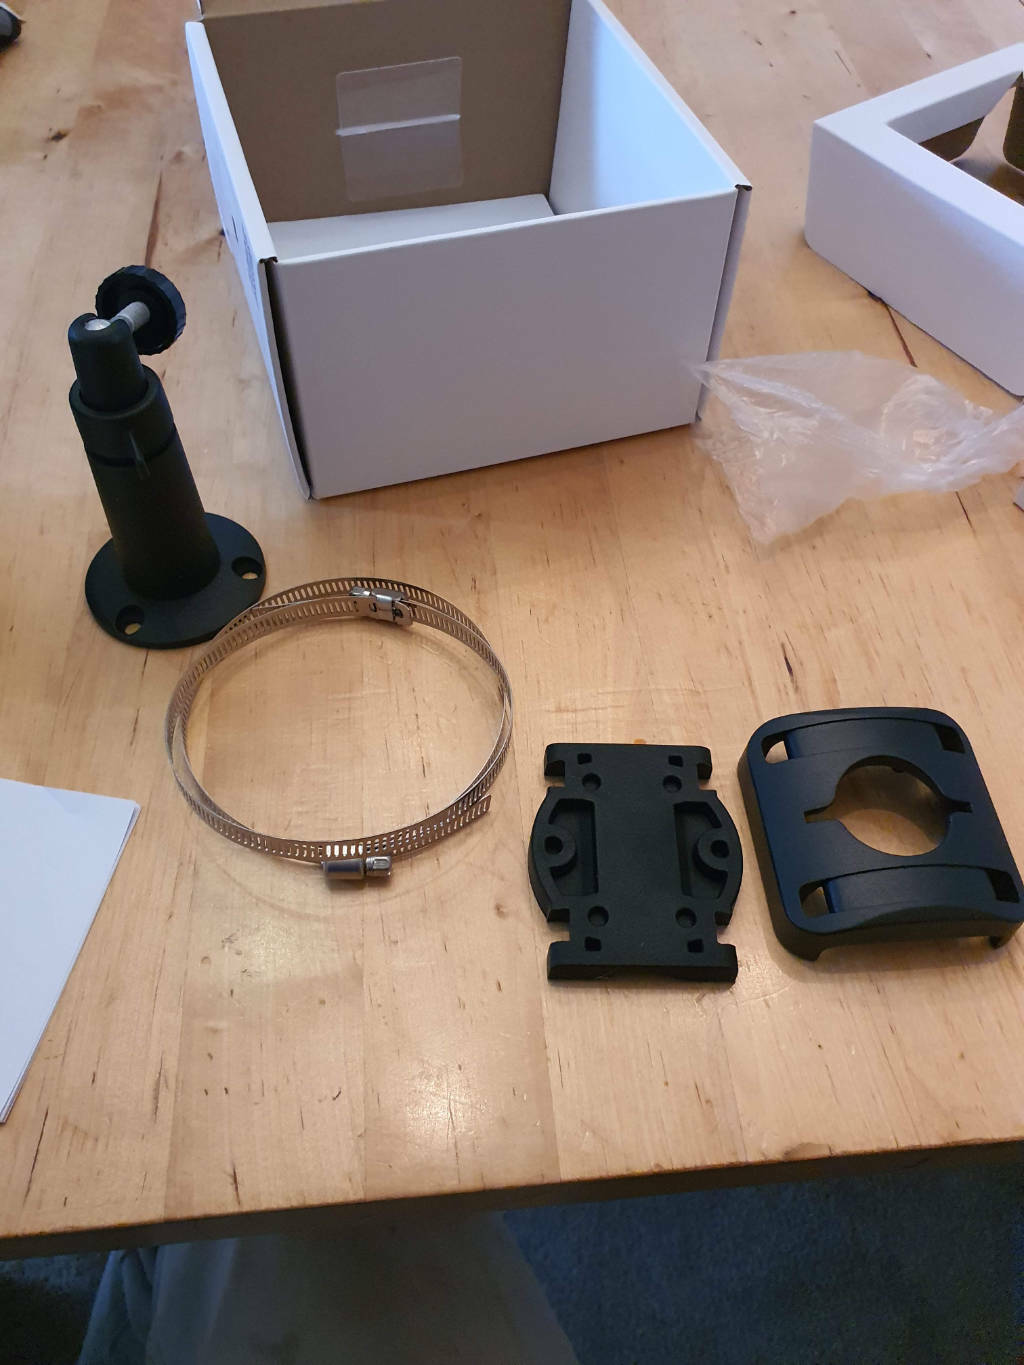
 And the mounting base is, as you would expect, some mounting hardware:
Base Unit Setup
To system works by having the indoor unit work as a hub for the whole system and then the other components all communicate through it. This means you have to think about where you will put everything so they can all talk to the indoor unit from outside and through walls.
I placed my unit upstairs as the Anemometer would be mounted on the roof and the outdoor unit would be in the courtyard on the same side of the house so putting the indoor unit at the top of the stairs was pretty much in the middle.
With the unit plugged in, it needs setup via an app. Download it from your appstore of choice. If you have never used Netatmo devices before you will need to go and sign up for an account before you can login:
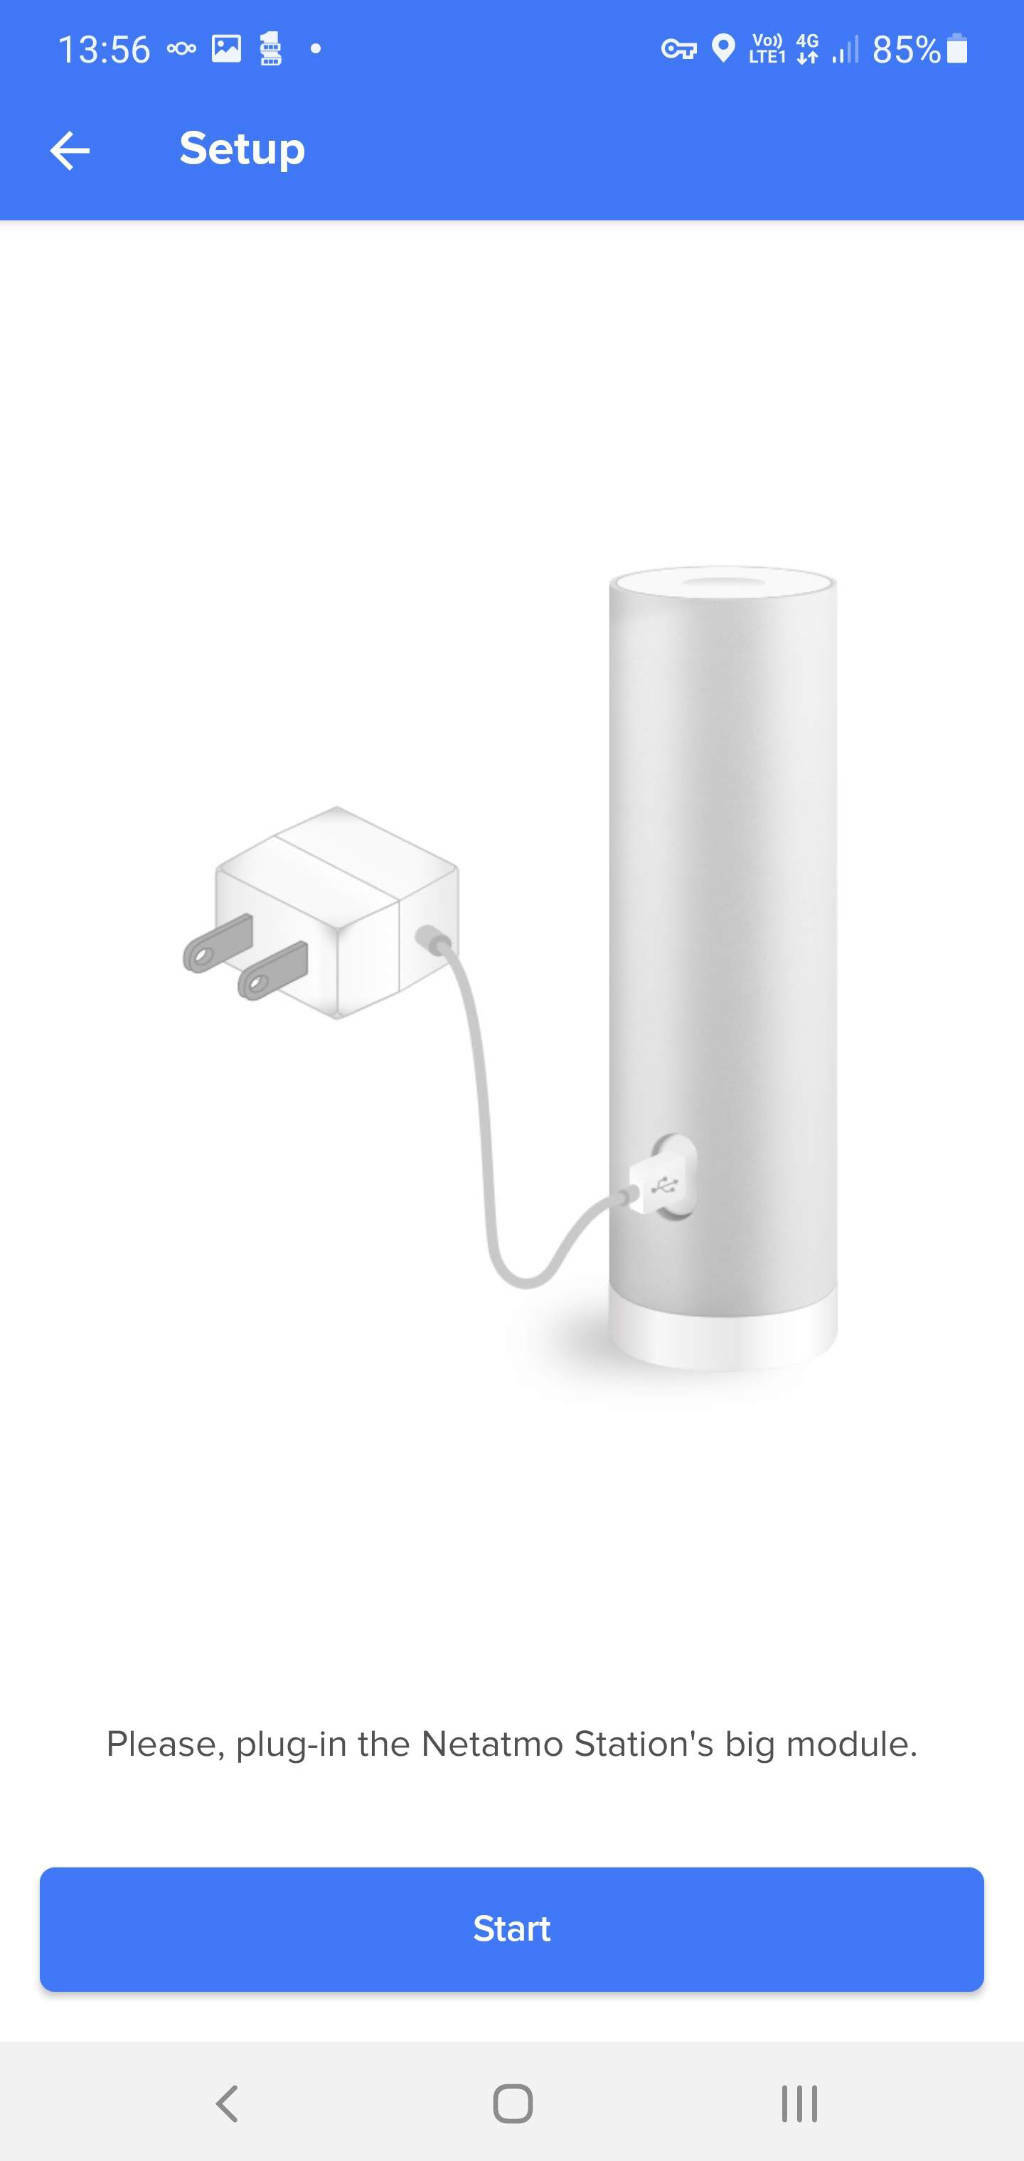
 Once logged in is time to get setup:
 Despite the setup being simple enough, I still managed to get the following error at the end of it:
 This was because the WiFi was turned off on my phone. Yes, my error, but in my defence as part of the setup the app showed me a list of available WiFi networks. Maybe a little note to the Netatmo App devs to put a check in to see if WiFi is off?
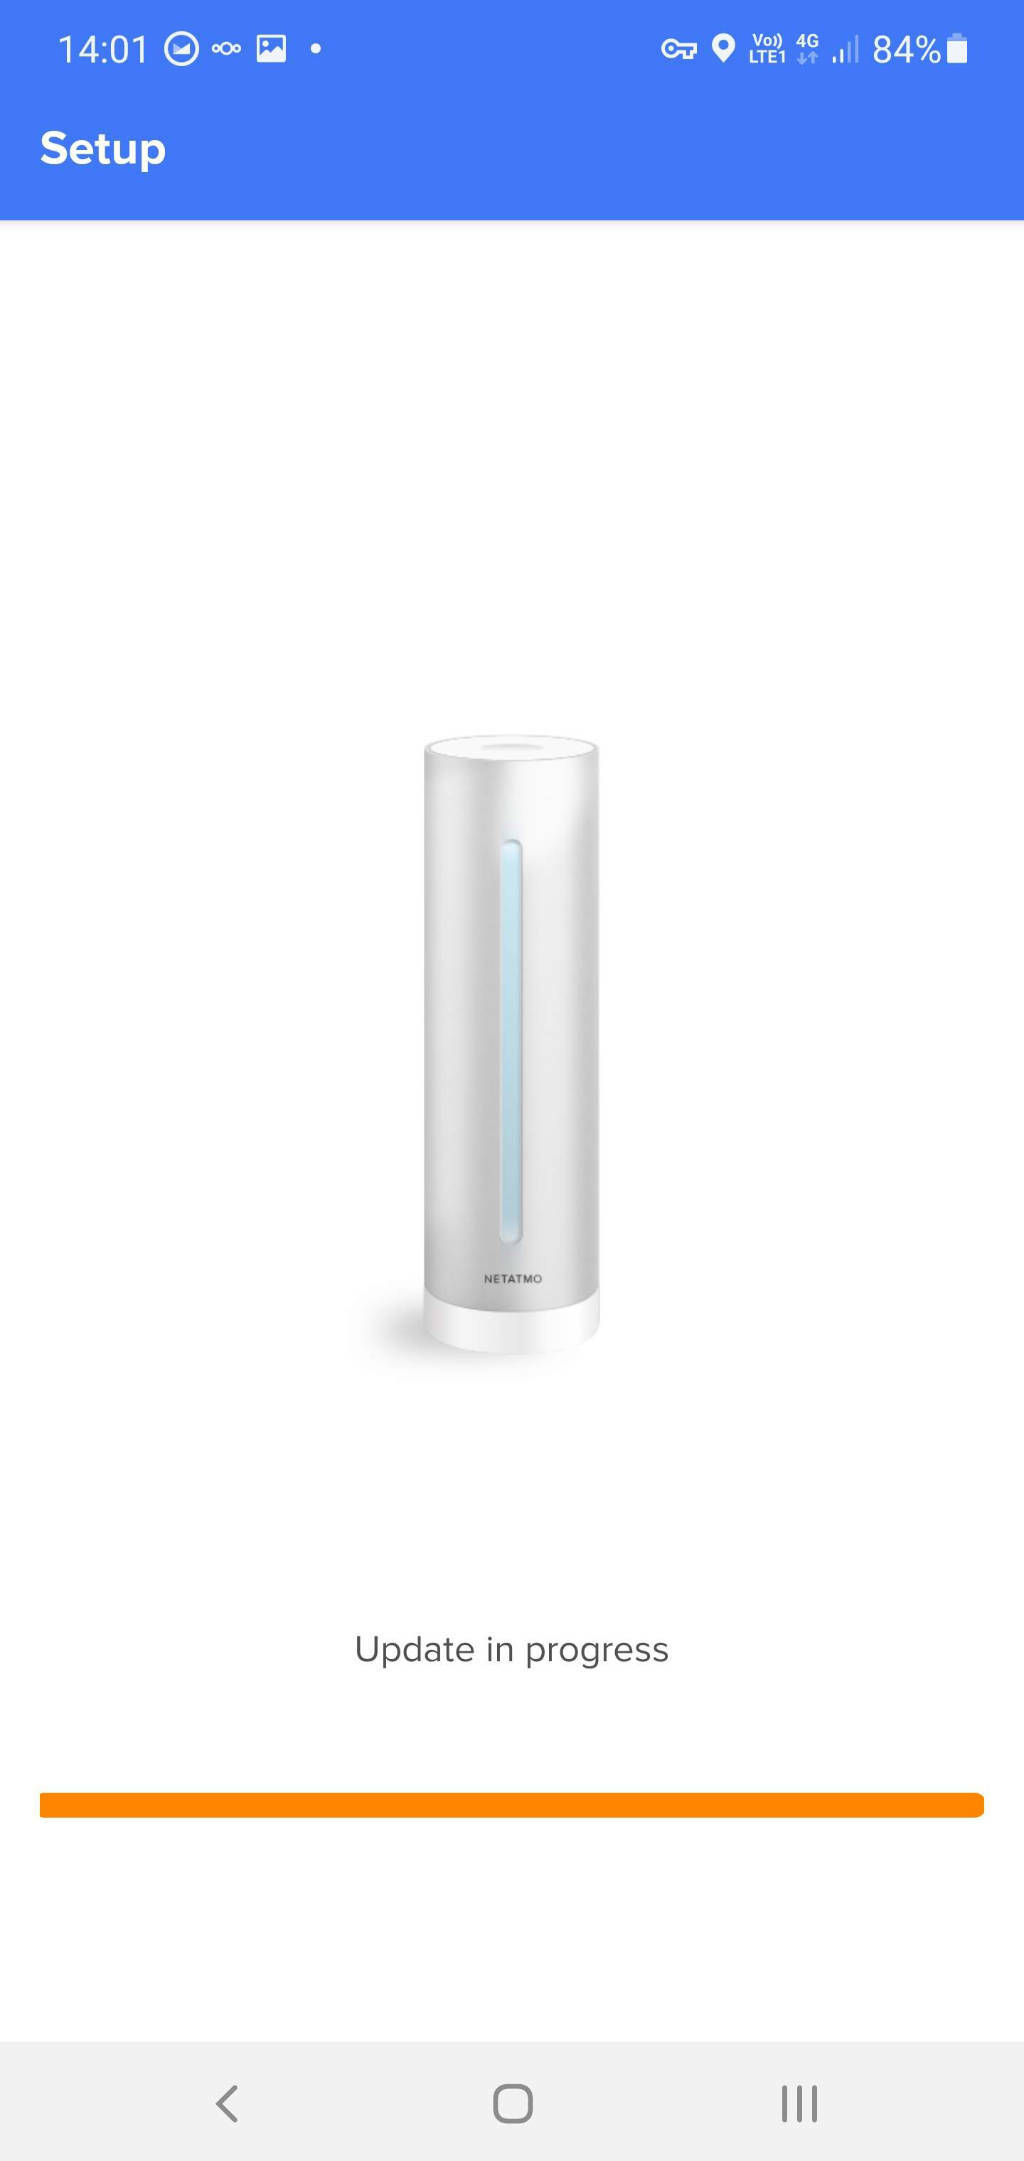
Once that minor snafu was out of the way I was able to complete setup and of course install the mandatory updates:
 The base unit is pretty useless on its own so now it was time to add the main outdoor unit. I decided to set the device up inside so if there were any problems I didn’t have to go up ladders to see what was wrong. You add the new device through the app and it gives you the information for adding the batteries before it will try and connect:
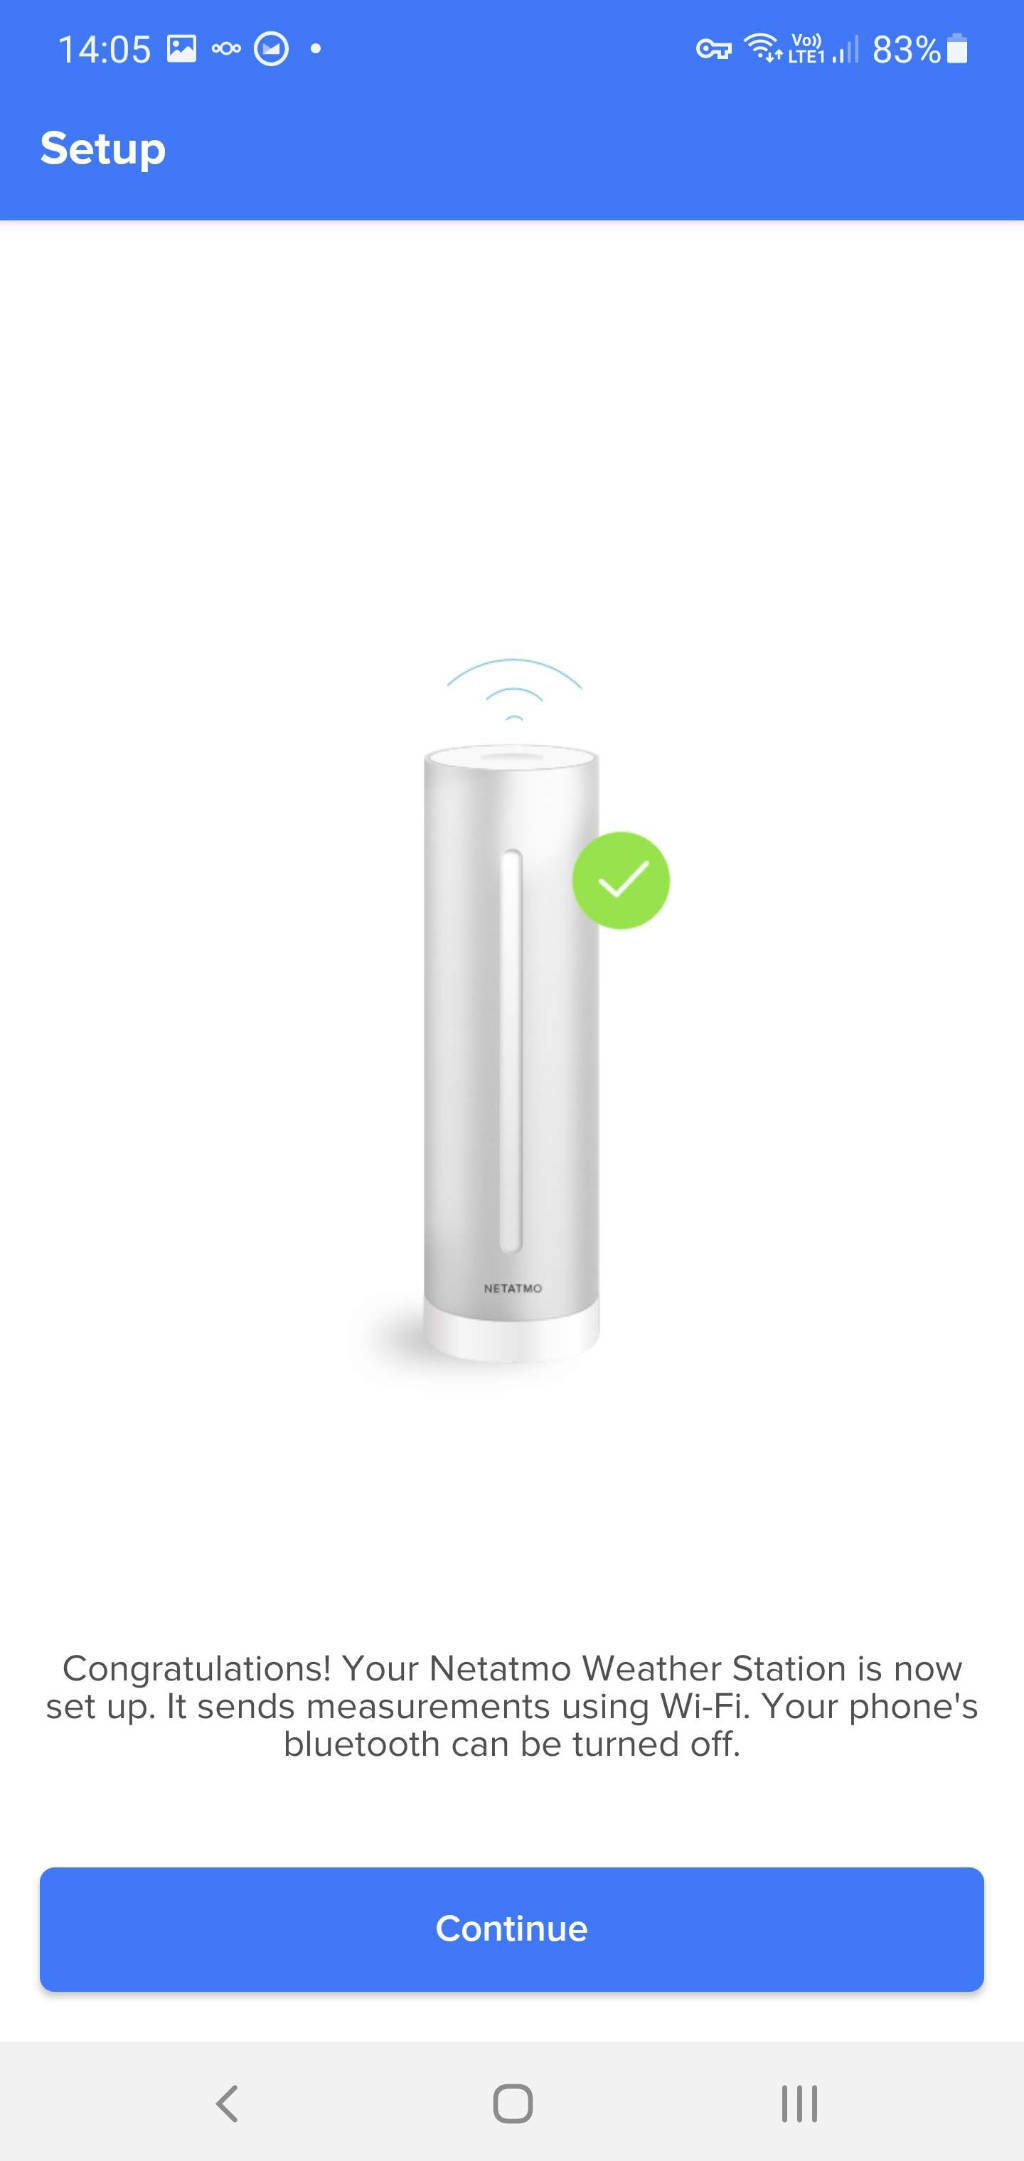
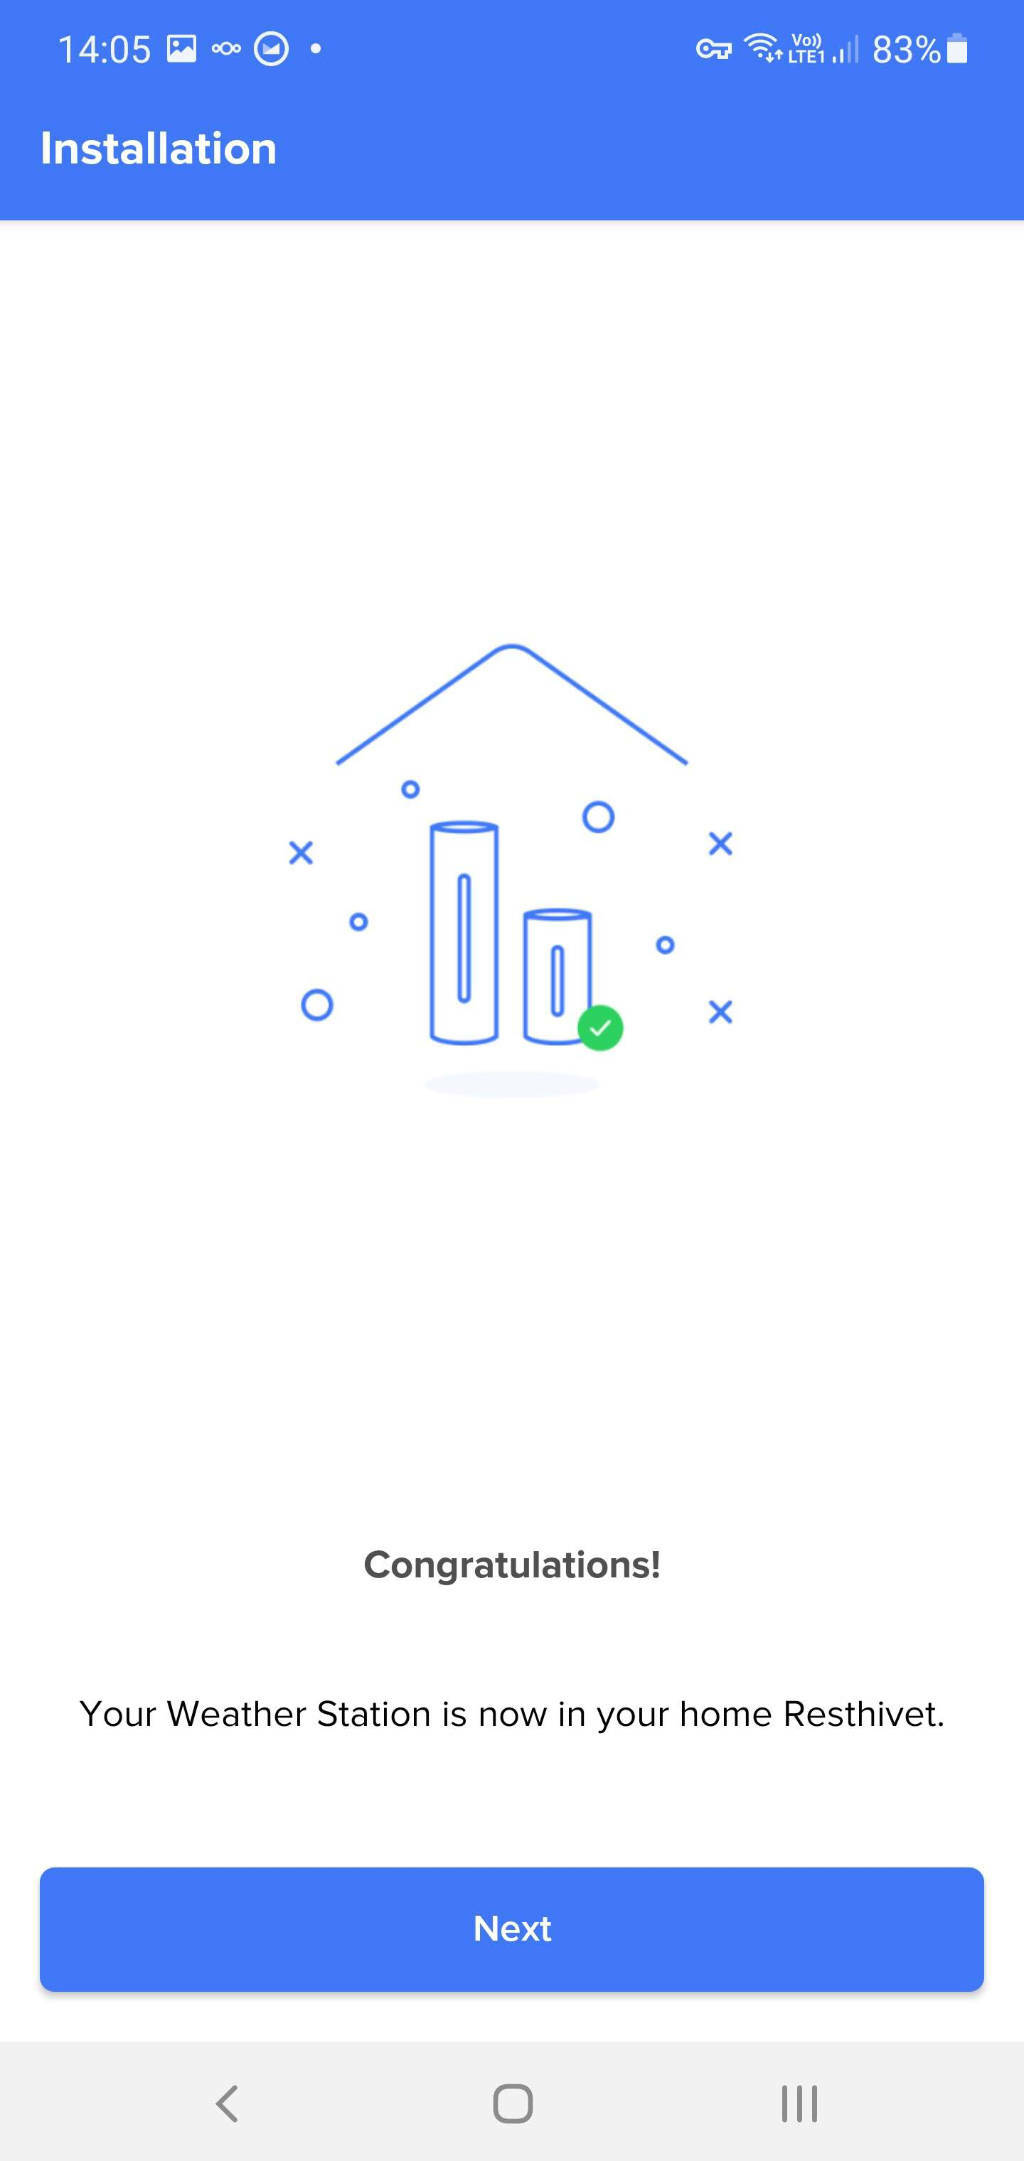
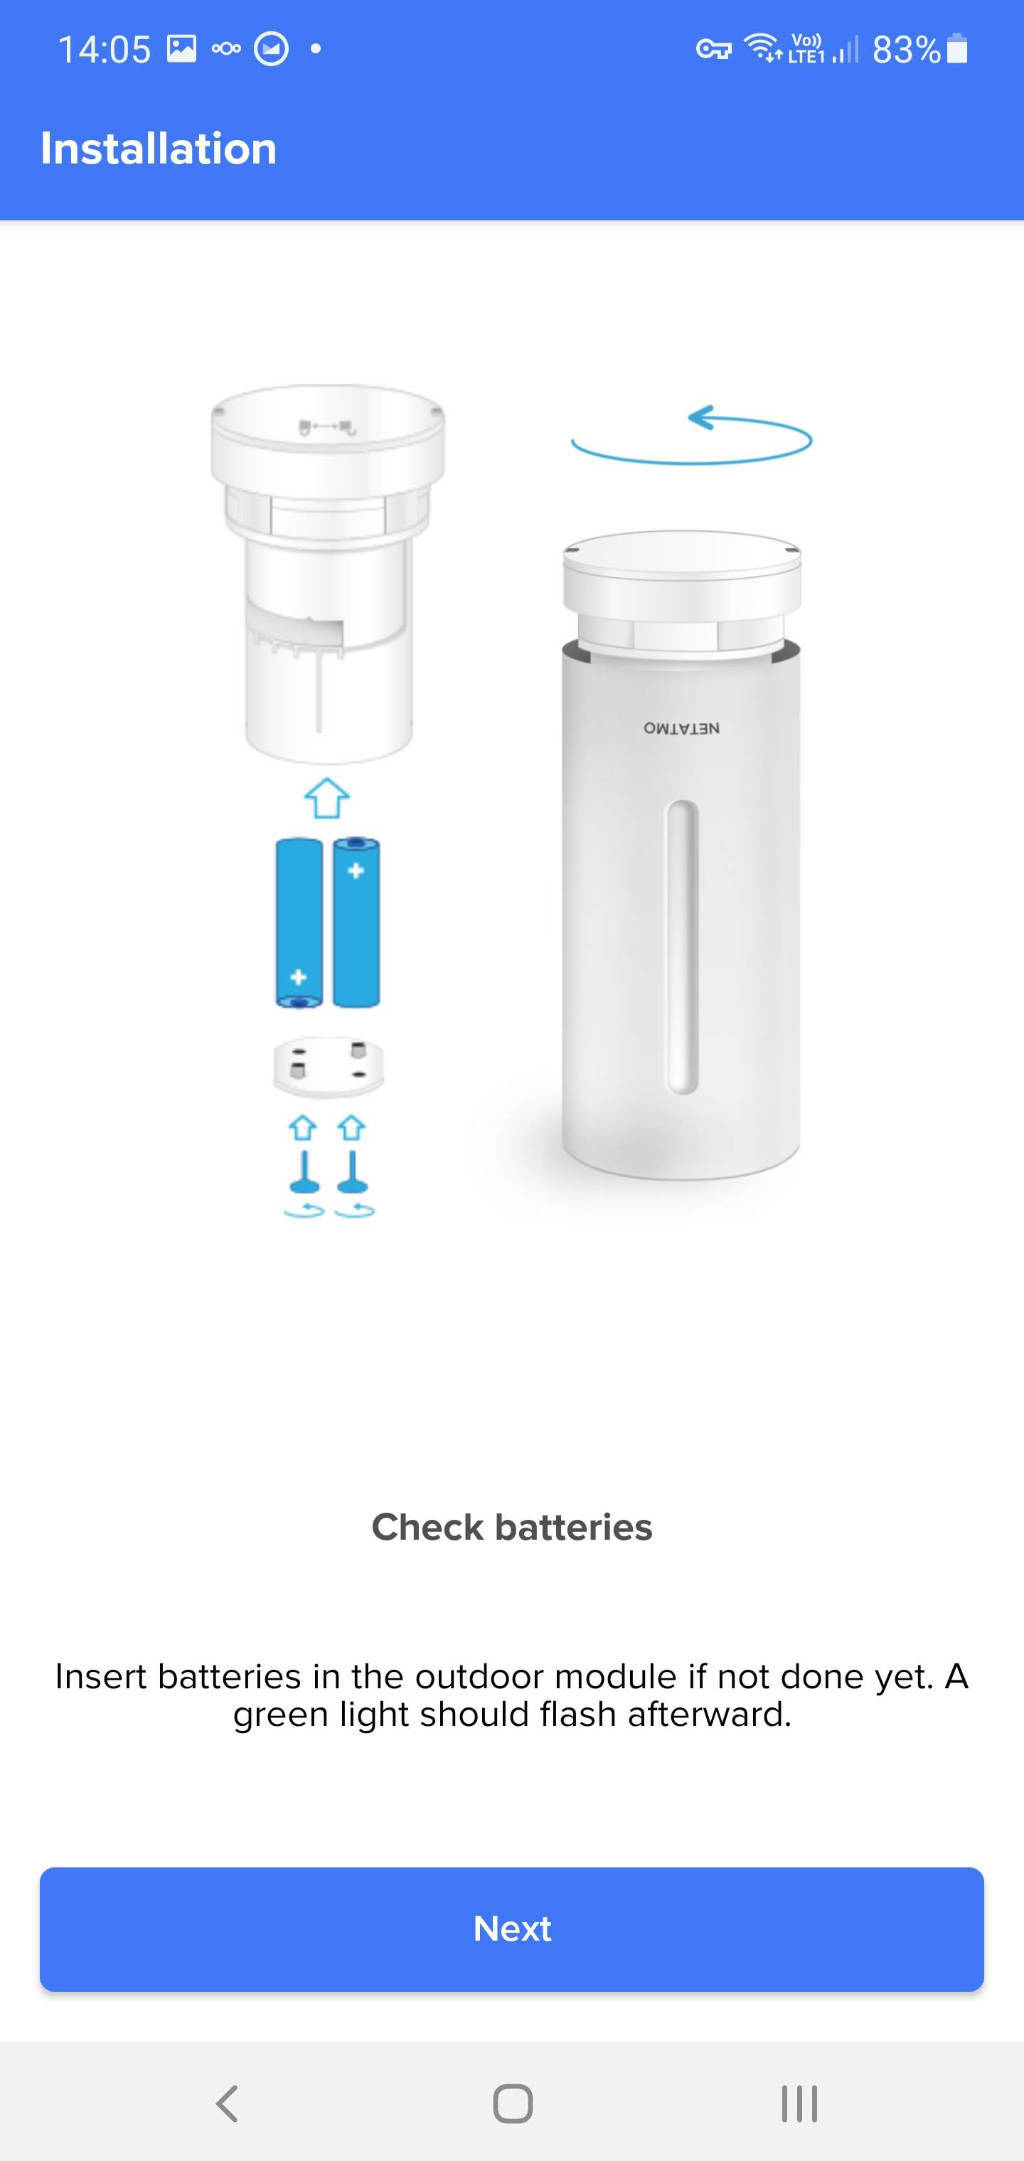 Follow the instructions and you should get:
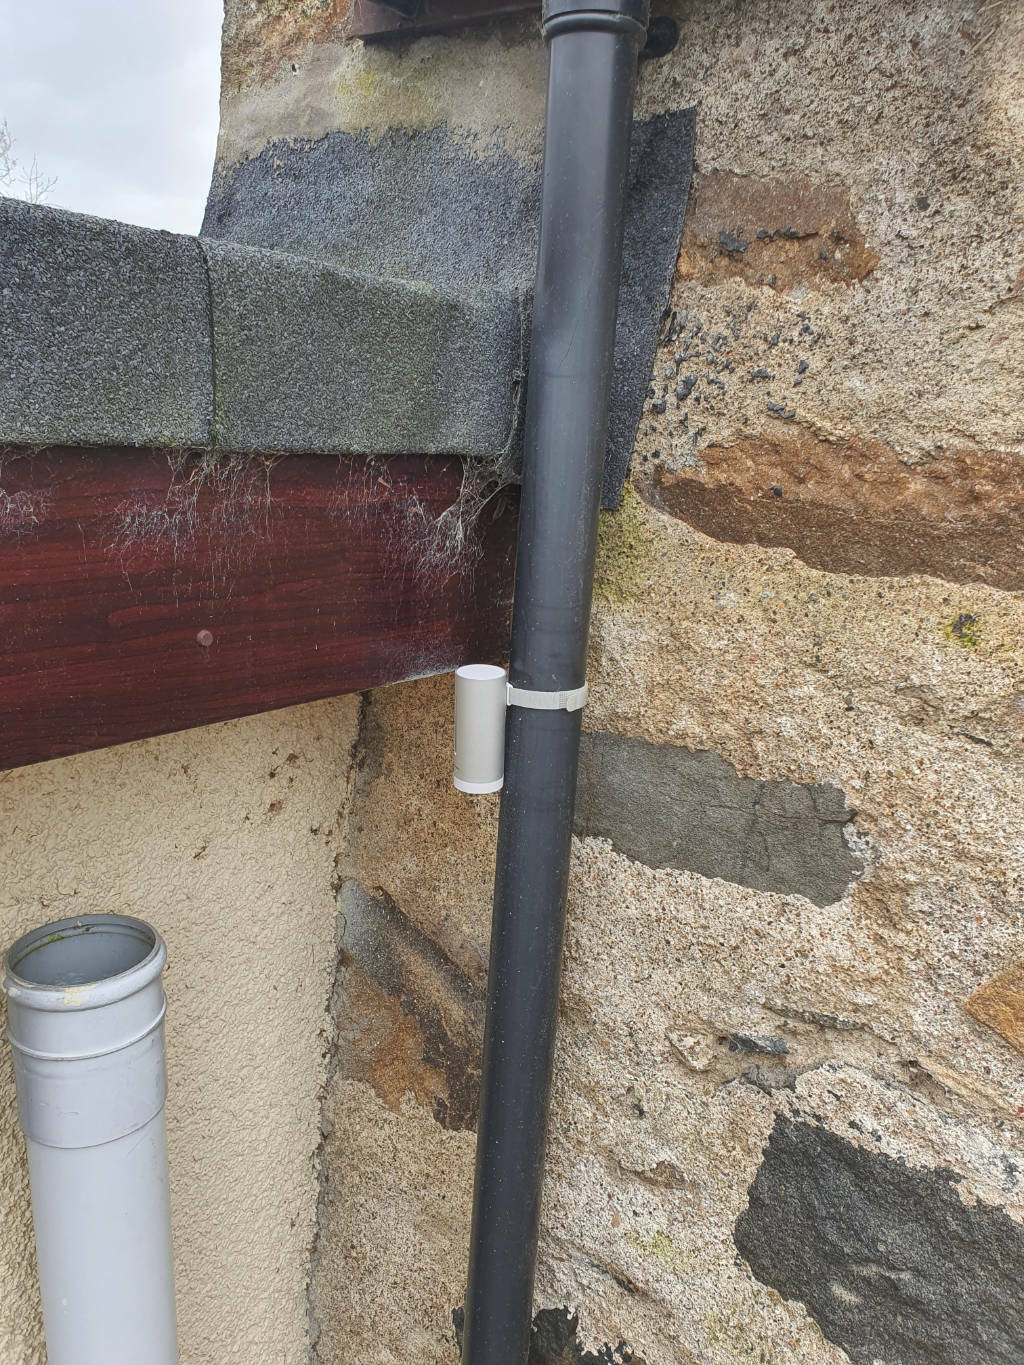
 Now time to mount the outdoor module, er, outdoors! The module needs to be kept out of direct sunlight and the worst of any wind and rain, so as sheltered as you can get it so it can take the most accurate readings. The mounting hardware comprises of a velcro strap so it can be attached to a drainpipe easily. I found one in our courtyard that never gets the sun and is sheltered and attached it:
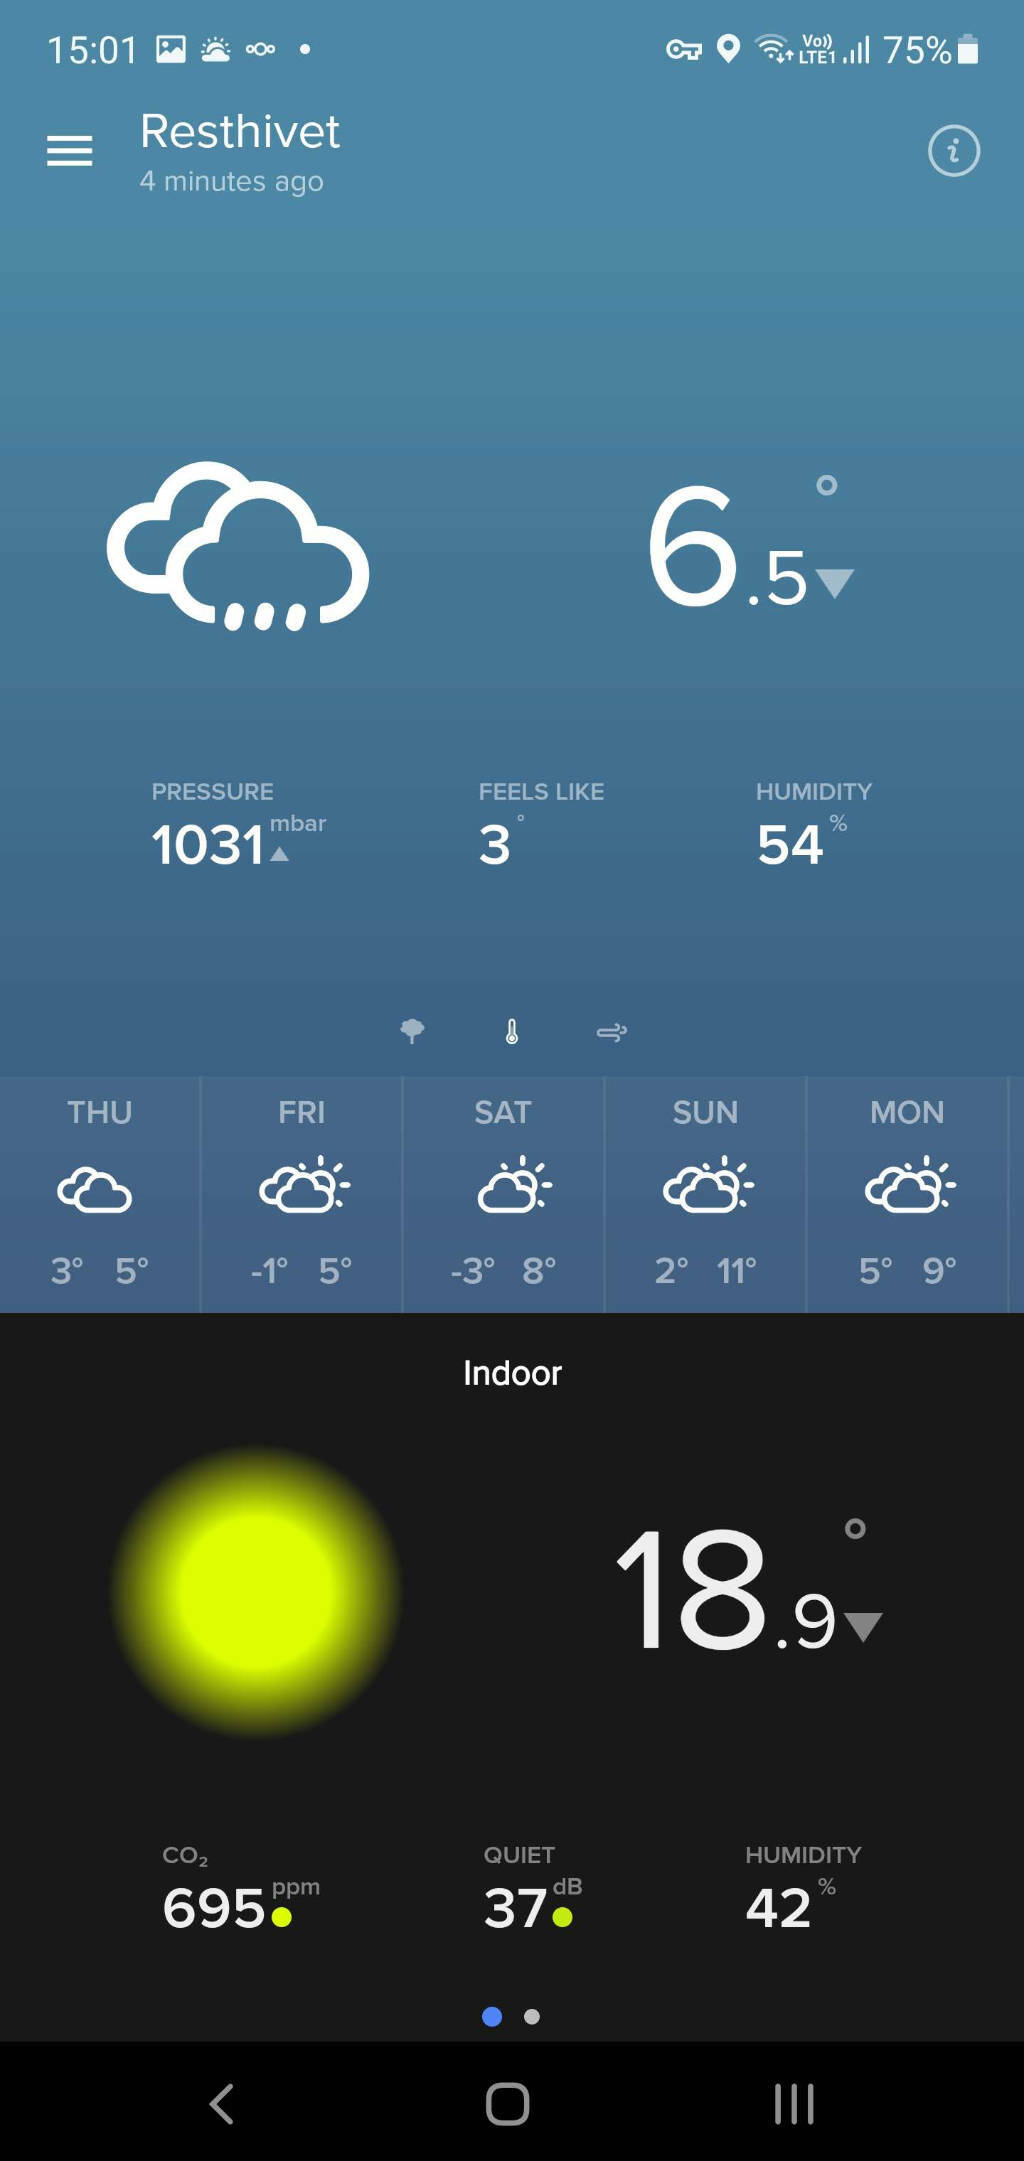
 This will give basic temp, humidity and pressure readings which are nice, especially when I am trying to decide exactly how many layers I might need on to venture outside in the winter.
Anemometer Setup
With the indoor and outdoor modules sorted it was time to get the wind gauge installed:
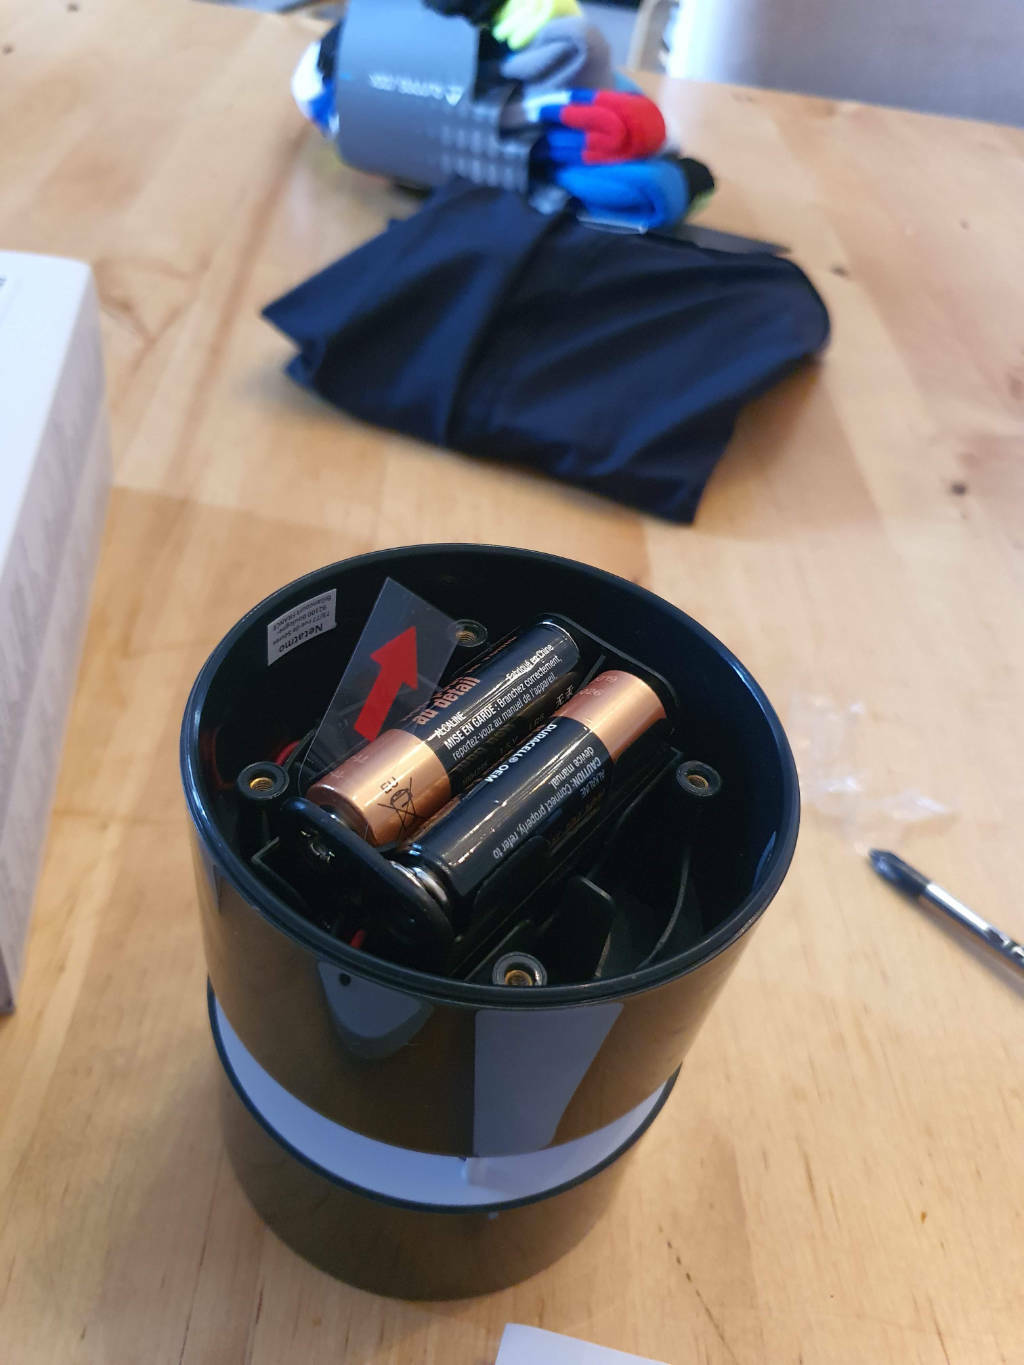
As with the outdoor module you select the new unit from the app and follow the instructions. This was the only time I got a bit lost as I couldn’t work out from the pictures in the manual (no words), or the app if there were batteries already installed or if I had to do something.
Eventually I took the plunge and unscrewed the bottom of the unit and found there were batteries but they had a plastic tab that needed removed to allow the device to start working.
 With the base securely back on and the unit paired to the indoor station it was time to get the ladders out and find a suitable place on the roof for it.
The anemometer is configured to work at a height of 10M which is surprisingly high, it might not be too bad for full 2-storey houses, although it would be a bit precarious. Our house is 1.5 storey so the highest point is only 7.8M (yes i measured it), you can adjust the height for the readings to be accurate within the app for the anemometer.
Another thing to consider is the unit needs to be clear of any other surrounding buildings, trees or anything else that could interfere with the wind and give inaccurate results.
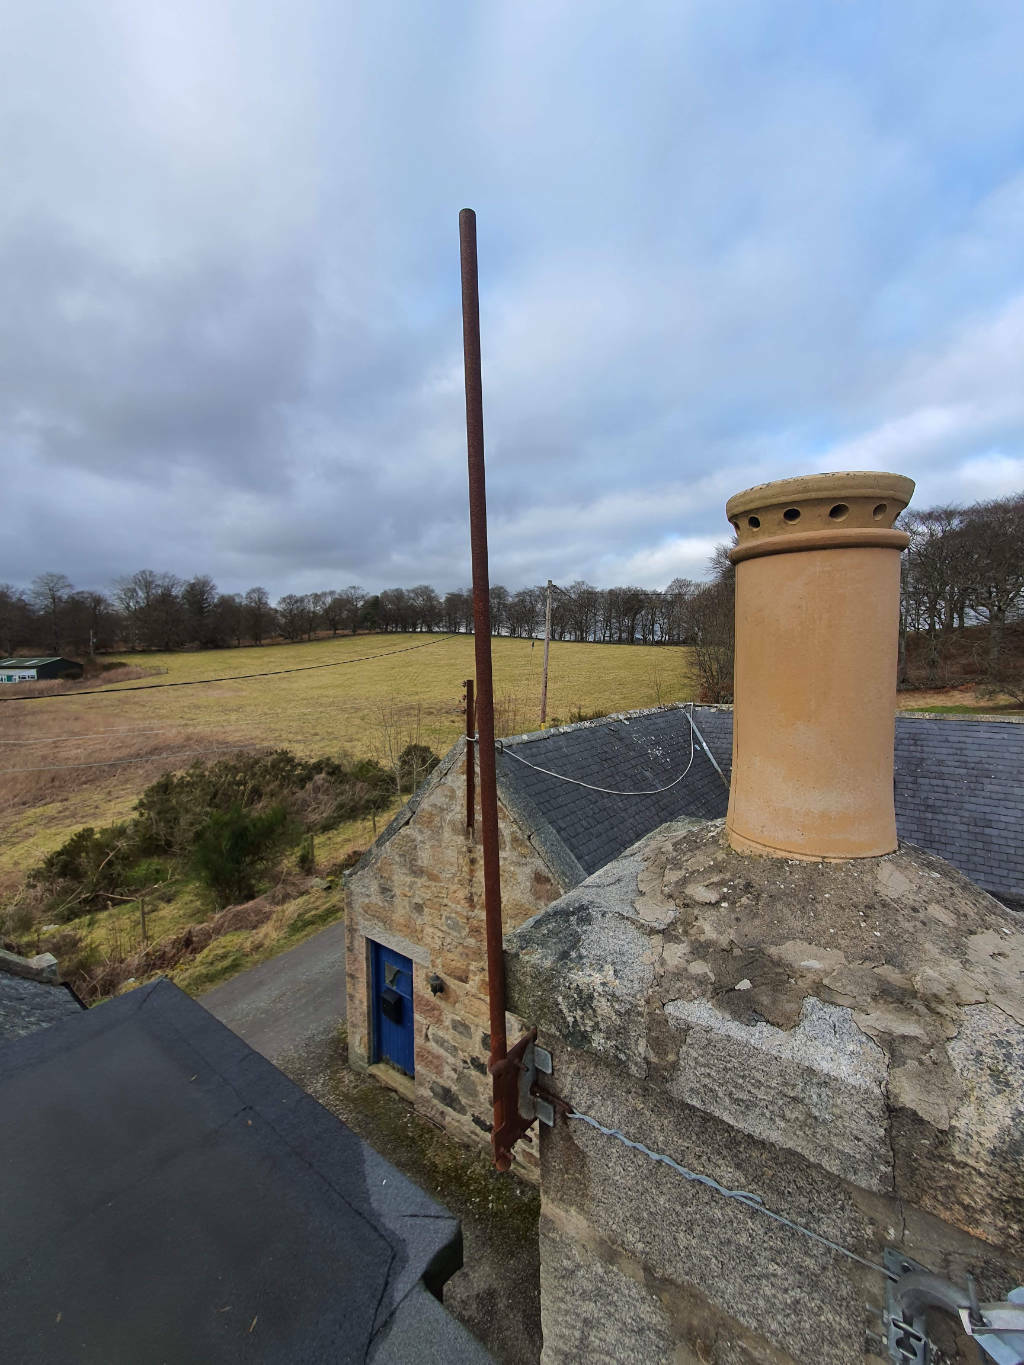
Luckily for me, we have an old TV aerial (I mean who still uses those?) mounting pole attached to one of the chimneys on the roof:
 I chose to use metal cable ties to attach the mounting bracket, there are screws supplied for wall mounting and I could have used plastic cable-ties. However, with winds here reaching 70MPH+ I wanted it to be as secure as possible.
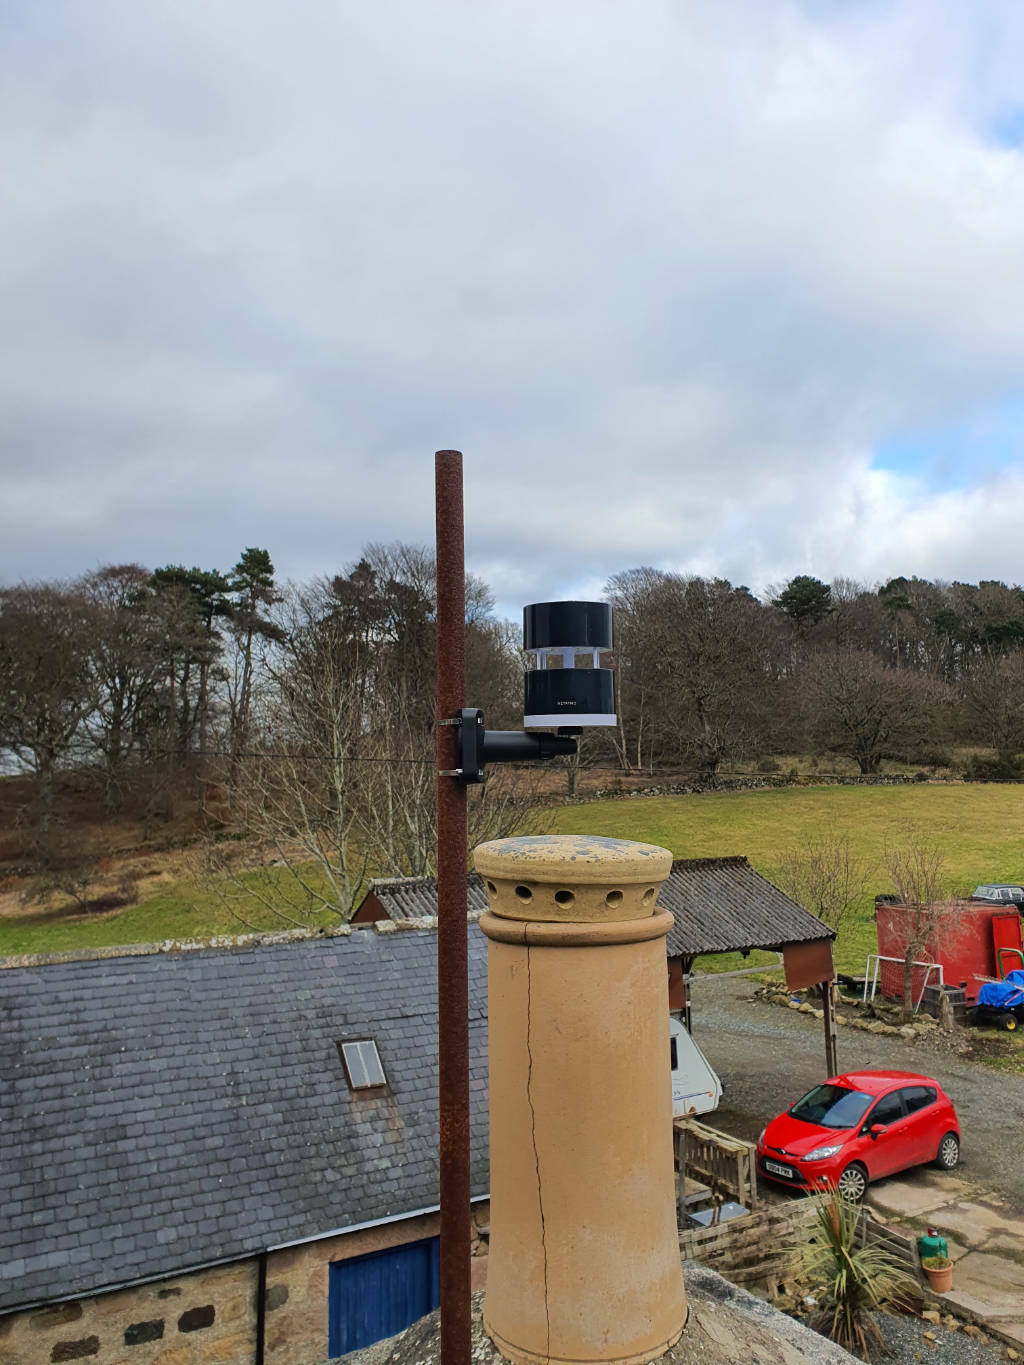
With the mount, mounted, you just need to screw the anemometer onto the bracket and tighten it up:
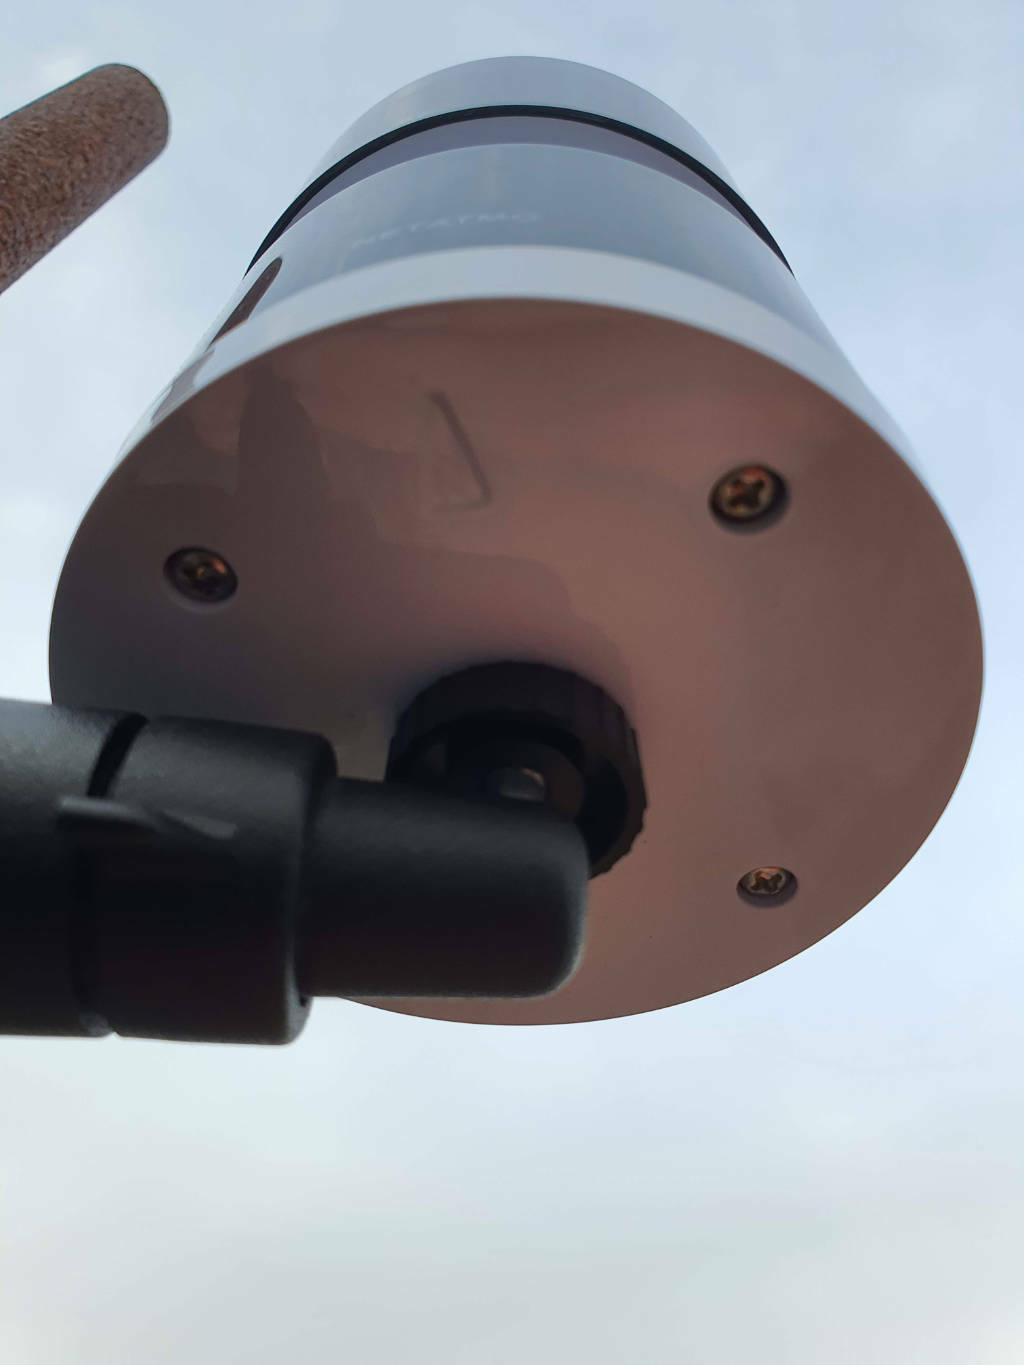
 At this point it would have been a good idea for me to finish reading the manual, as I failed to notice the triangle on the bottom of the unit that needs to be pointed North for accurate direction measurements:
One compass app on my phone and a trip back up the ladders later and everything was setup:
Using the system
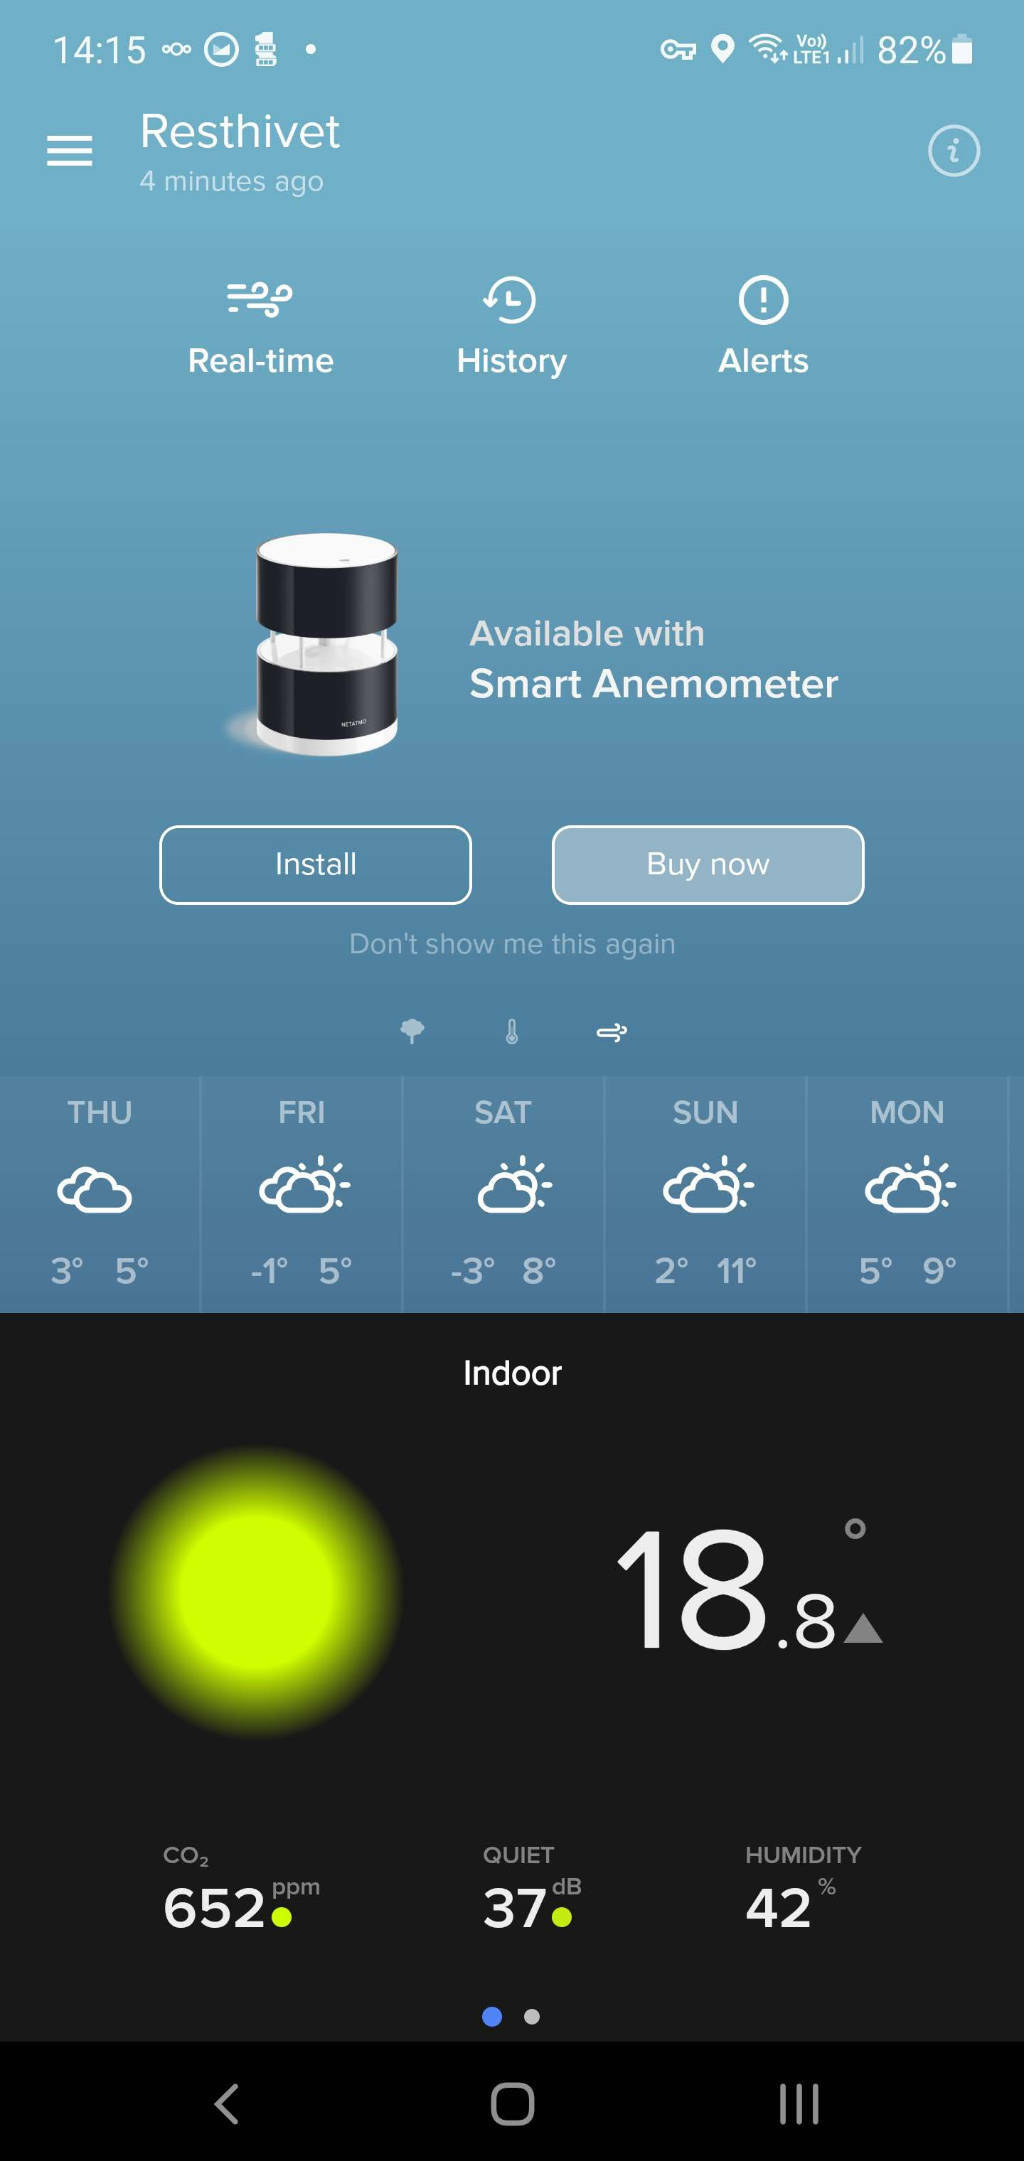
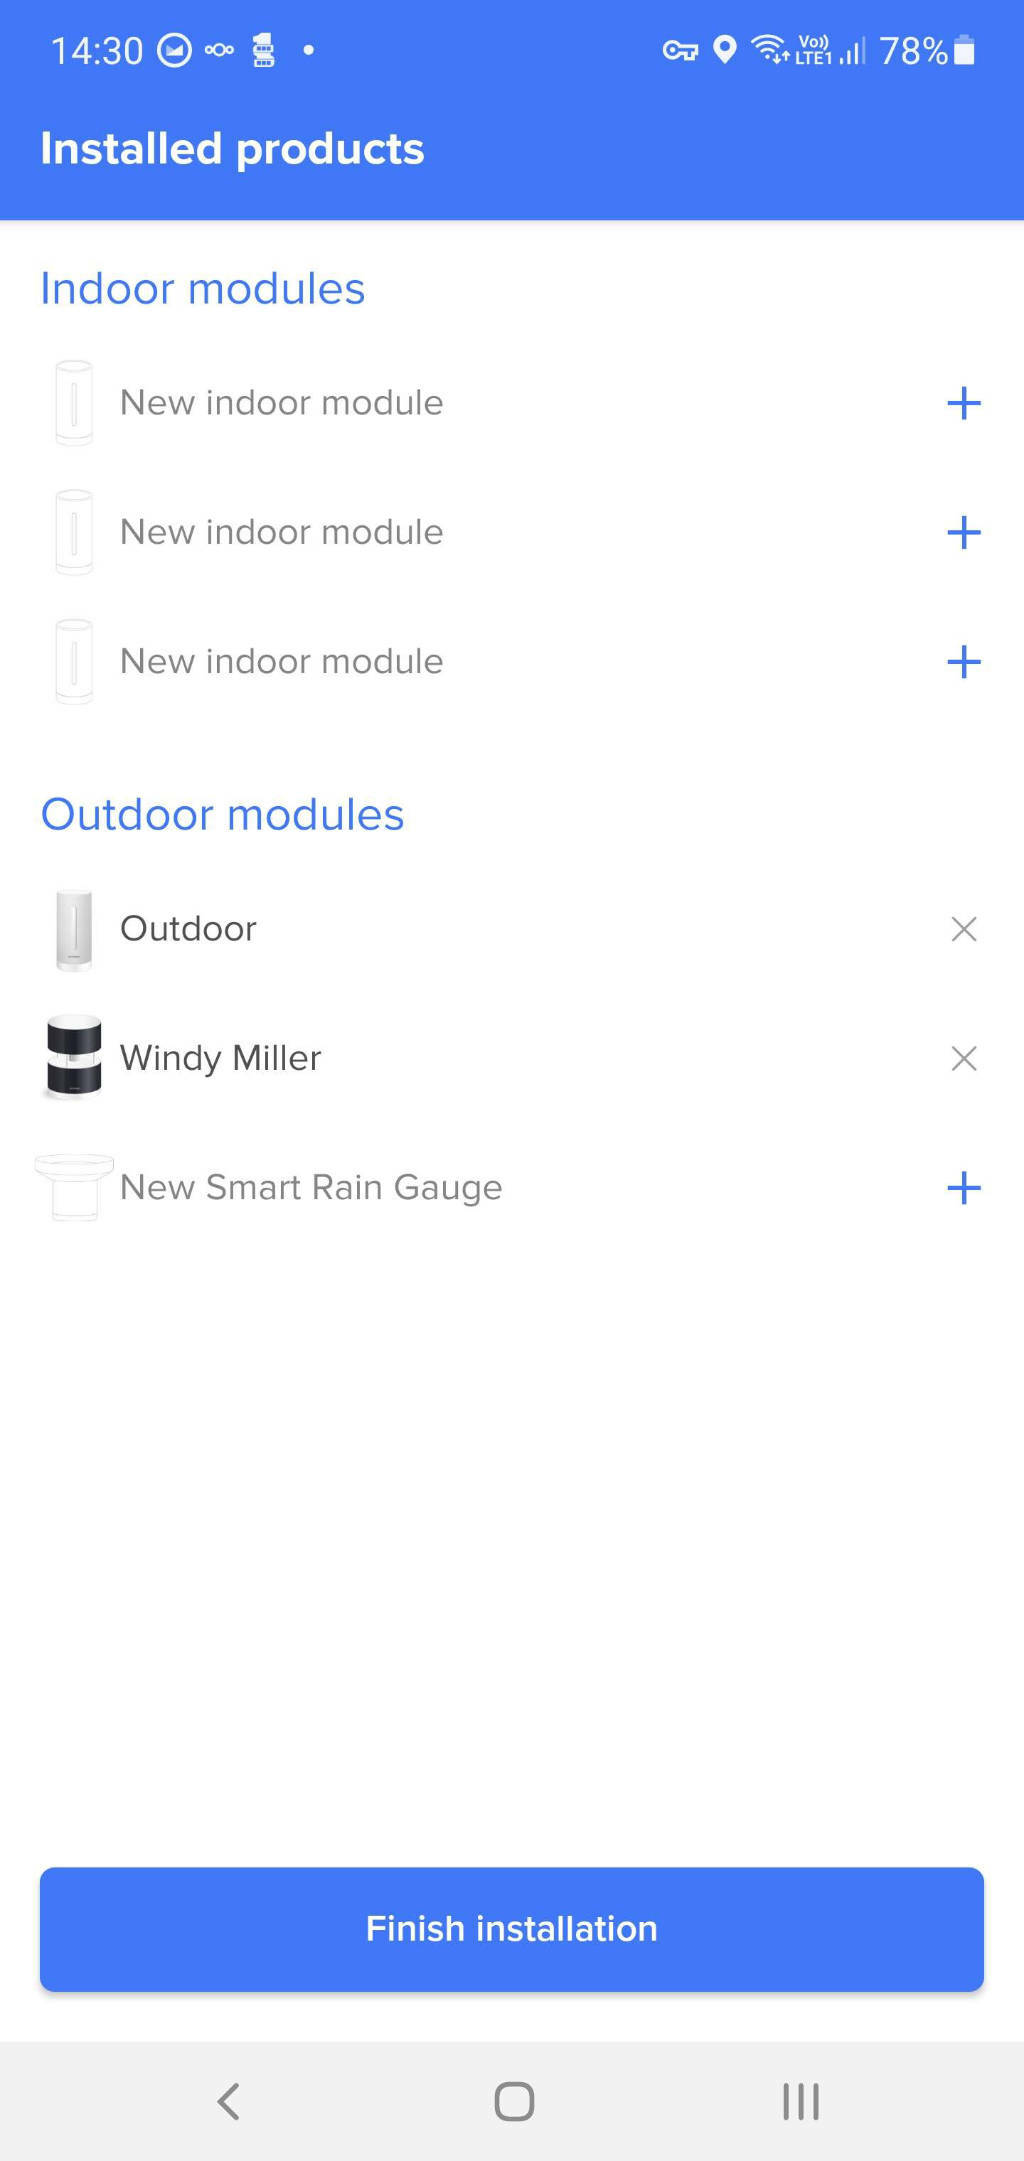
With all the units installed and configured the system is easy enough to use as you just open the app and see what the weather is doing:
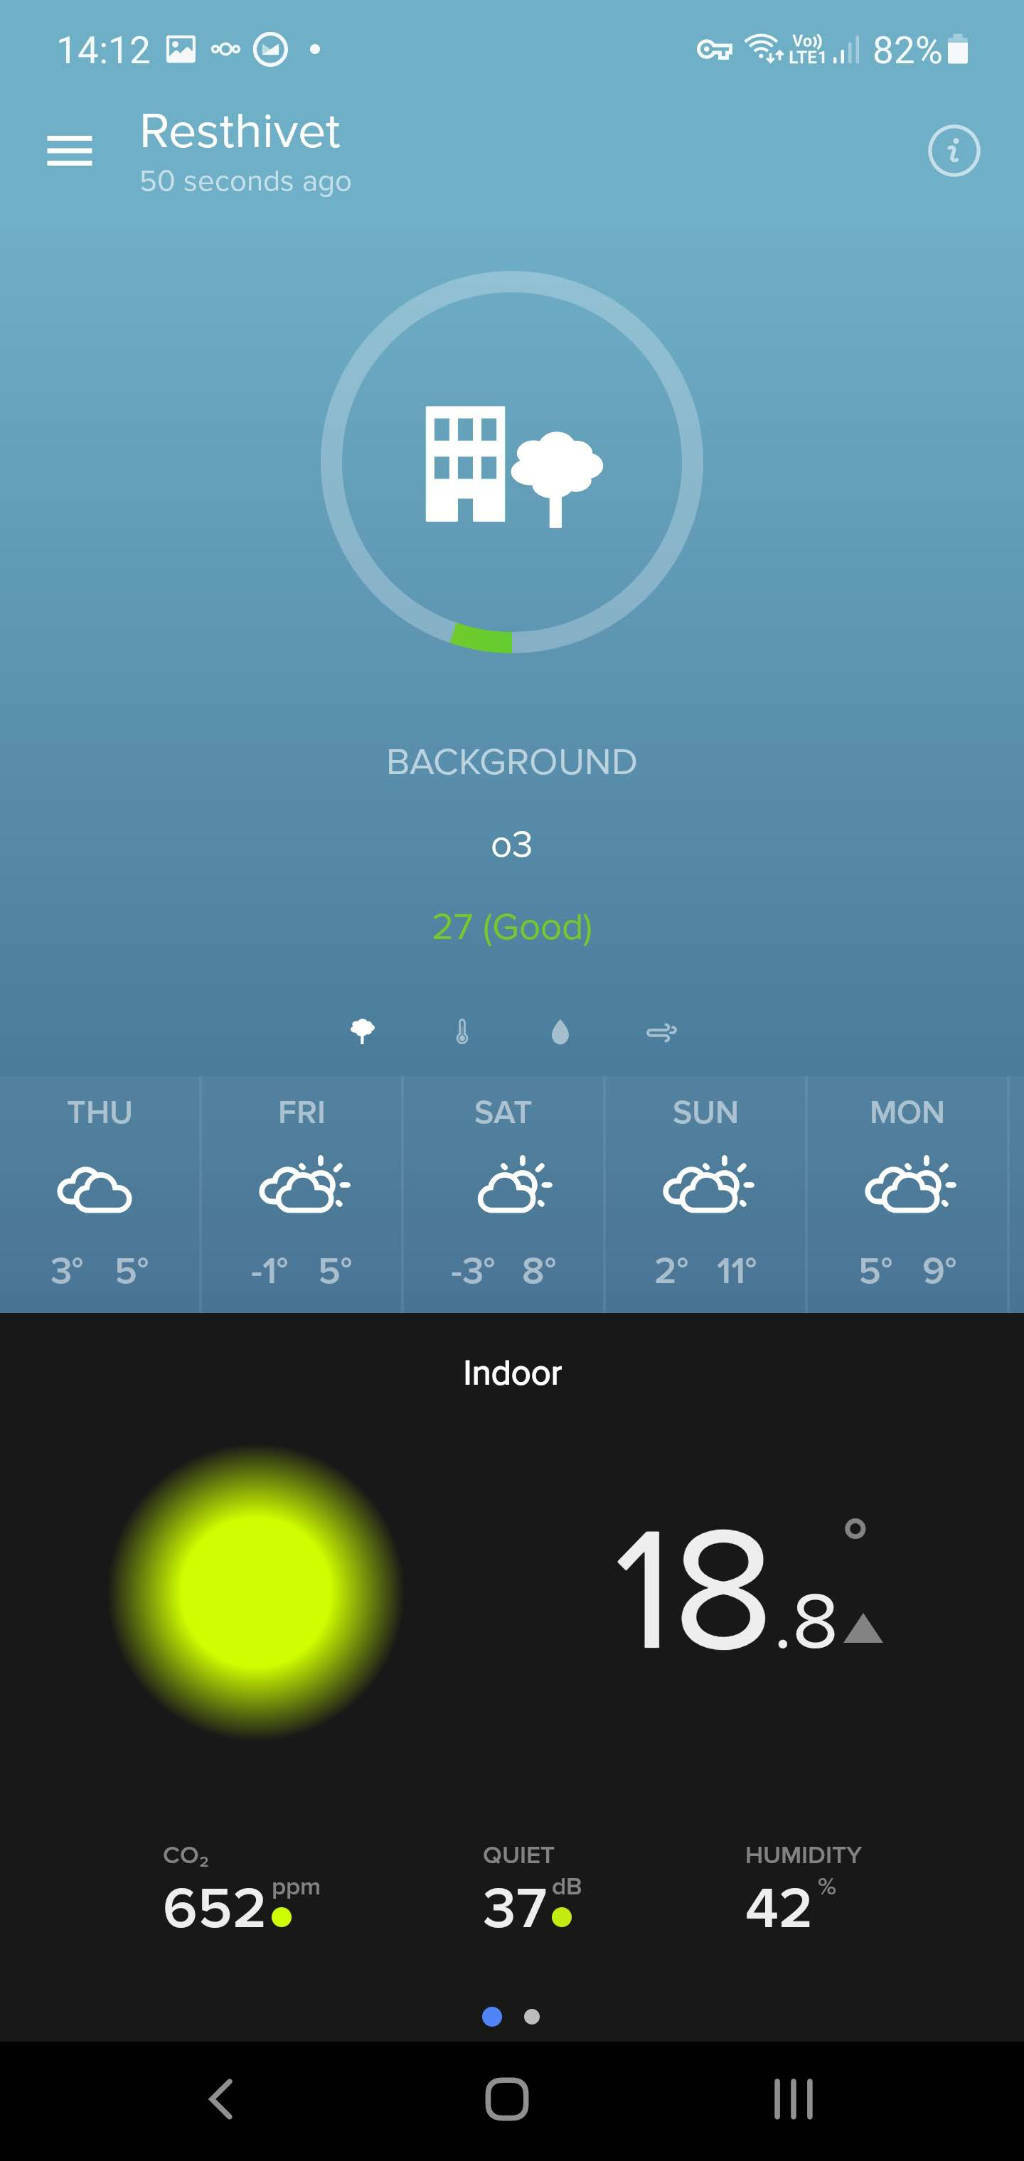
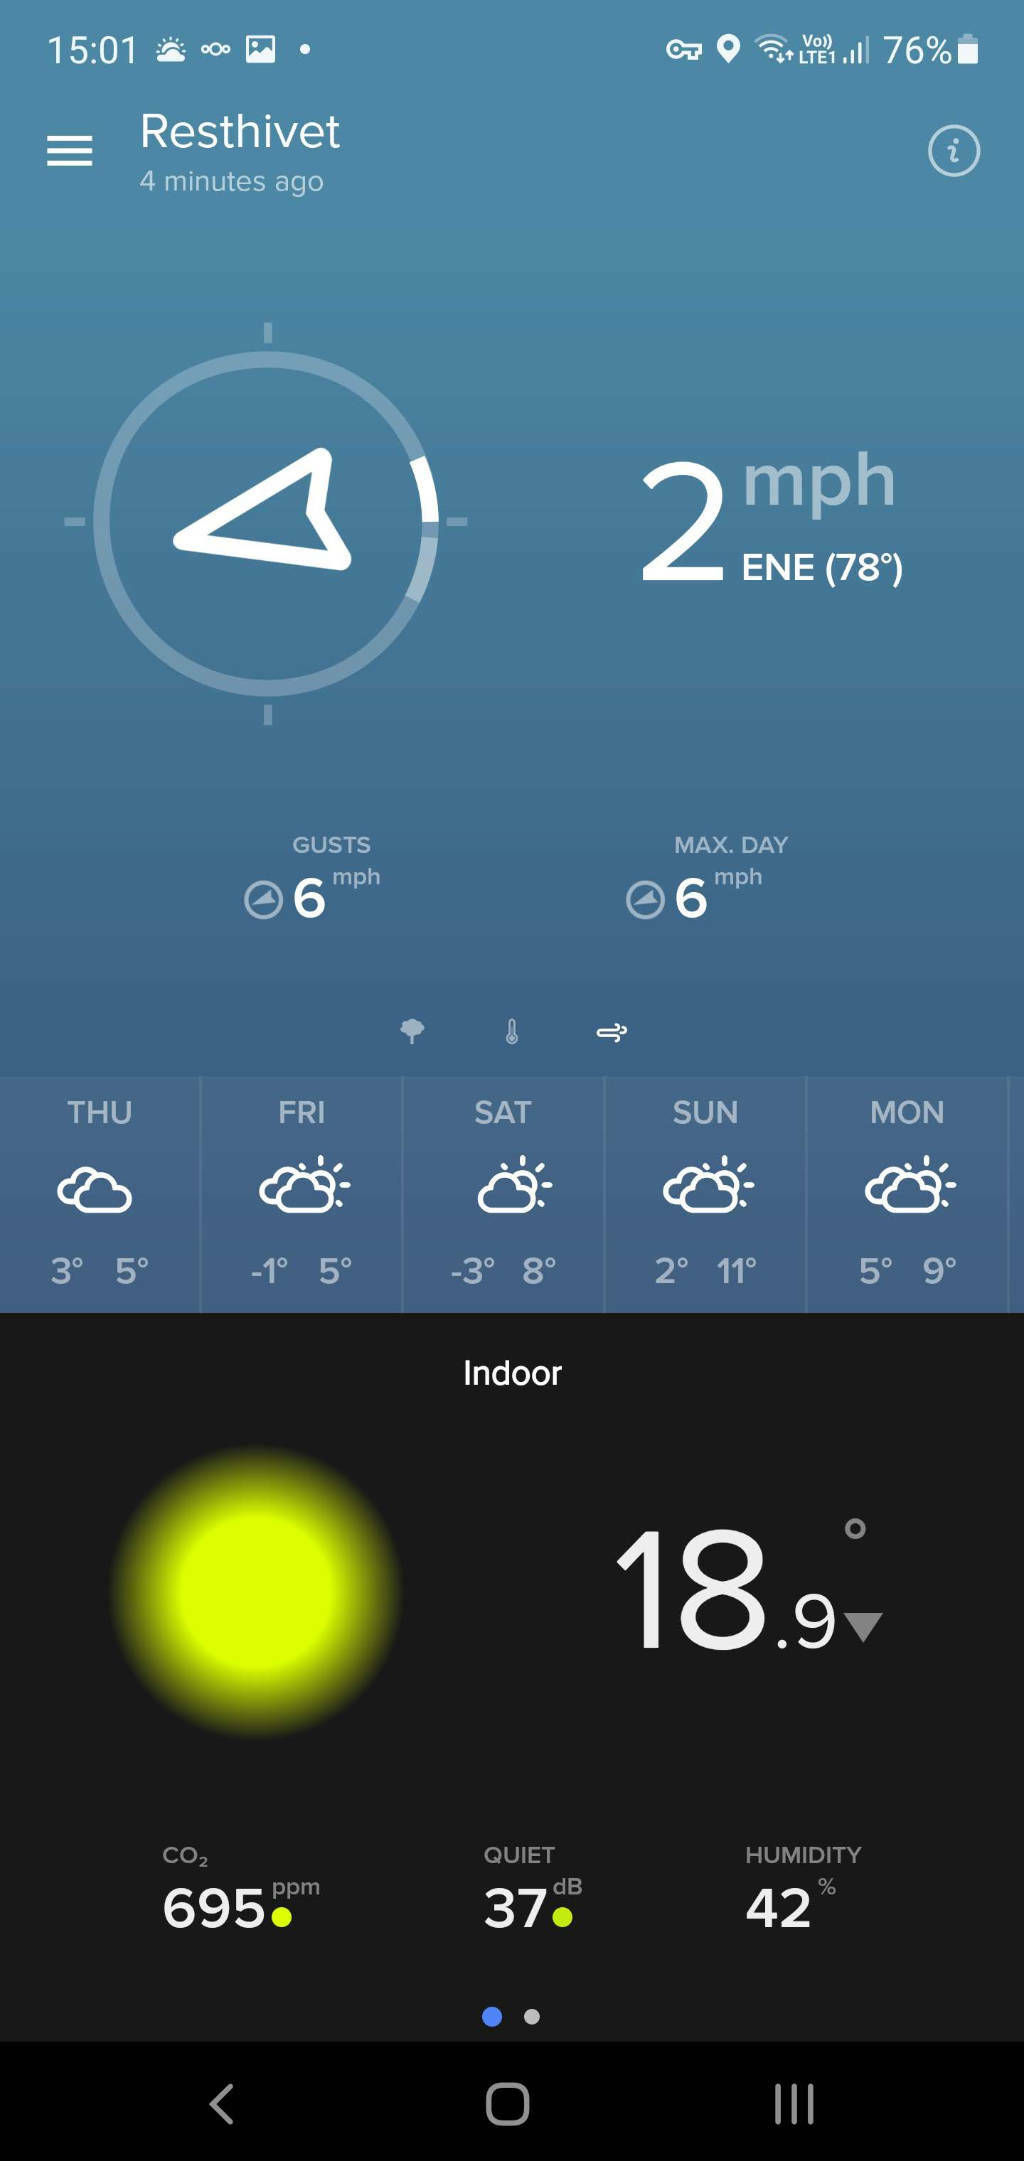
The system has been in place for about 3 weeks now, and in that time we have had some very cold nights of -6C, and some very high winds of 40MPH+ and the system has worked perfectly.
In the future I am planning to do more with it as it is possible to hook it up to Grafana. I could pull out the data and come up with a dashboard that can run on a display somewhere in the house as right now the only way to see what the weather is doing is to open the app, or have a widget on my home screen.
So with a bit of luck that will be coming in a 2nd post, somewhere in the future.
For now though, I would recommend the Netamo Weather Station and all it’s accessories, it isn’t cheap, but then you want something that is reliable and well made, and from what I can tell these devices appear to be.
There is always the option to build something yourself, and maybe I will one day, but it doesn’t really work out any cheaper. I also don’t fancy my chances of making something that can last in the elements here, especially trying to keep the damp out of the electrics.
I will monitor the system and update this post if anything changes.